At Casa y Deco, we love that moment when you walk into a second-hand shop, a flea market, or simply see an abandoned piece of furniture on the street and think, "this has potential." But here’s the honest truth: that potential only becomes reality if you’re willing to work on it. A weekend is more than enough to transform an old, worn-out, or bland piece into something that makes you happy every time you look at it. We’re talking about simple techniques, with no need to be a professional carpenter or to spend a fortune.
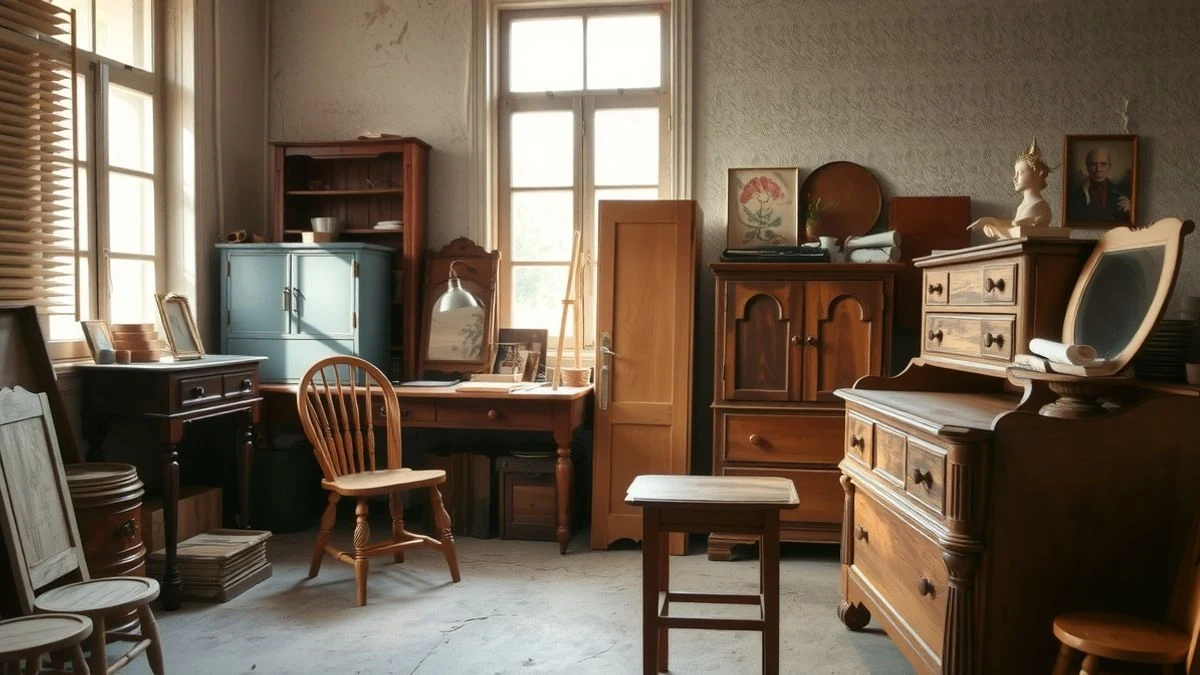
The first step is to choose the right piece of furniture. Not all items deserve a second chance: look for solid structures, with no visible rot or deep dents in the wood. A table with sturdy legs and a scratched surface is a perfect candidate; a sunken sofa with a broken frame, better left behind. Inspect all angles, open drawers if it has them, and imagine how it will look in your space. I confess that more than once I’ve impulsively brought something home without paying attention to the flaws, so take your time with this decision.
Once you have the furniture at home, before touching anything, take a Friday afternoon to plan the transformation. What finish do you want: paint, wood stain, partial upholstery, or varnish? What colours fit with your current decor? Take photos from various angles, test colours next to it if possible, and define exactly what you’re going to do. This half-hour of reflection prevents you from painting something the next day in a colour you later regret.
Deep cleaning is the first real step. Take the furniture outside or to a well-ventilated area. With a damp cloth and a bit of neutral soap, remove dust, grease, and dirt accumulated over the years. If there are sticky areas or stubborn residues, use a specific wood cleaner or a bit of solvent. Dry it completely with a clean cloth. This step isn’t glamorous, but it’s essential: you can’t paint or stain over dirt.
If you’re going to paint, you need to prepare the surface. For lacquered furniture or those with old varnish, a 120 to 150 grit sandpaper will help remove the shine so the paint adheres well. You don’t need to reach bare wood: just dull the current surface. Always sand in the direction of the wood grain, with gentle, circular motions. Then remove all the dust with a damp cloth and let it dry.
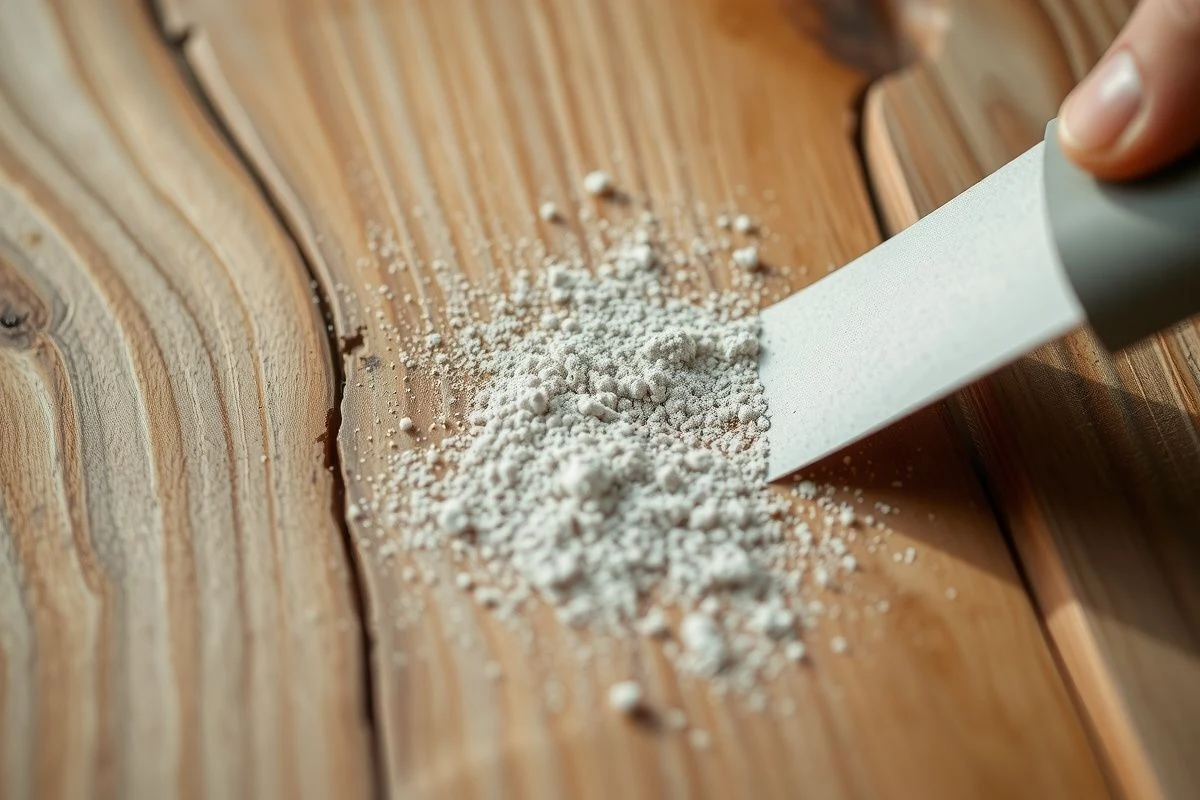
Here’s a tip that has saved me more than one project: use a primer before painting. It’s not mandatory, but it reduces the number of final paint layers and improves the result. Choose a quality paint, preferably for furniture (more durable than wall paints). Neutral tones like off-white, pale grey, or cream beige work in almost any interior, but if you want something bolder, a sage green or slate blue adds character without being overwhelming. Two thin coats are better than one thick one: wait for it to dry between coats, even if the manufacturer says it allows for it.
If you prefer to work with natural wood, stain is your ally. It doesn’t require as much sanding as paint and the result is warmer. Stains come in various shades: from light oaks to dark mahogany. Test the colour in a less visible area first. Apply with a brush or cloth following the grain, leave for the indicated time (usually 15-30 minutes), and remove the excess. A second coat intensifies the tone. If the wood is very light or uniform, this step completely revitalises it.
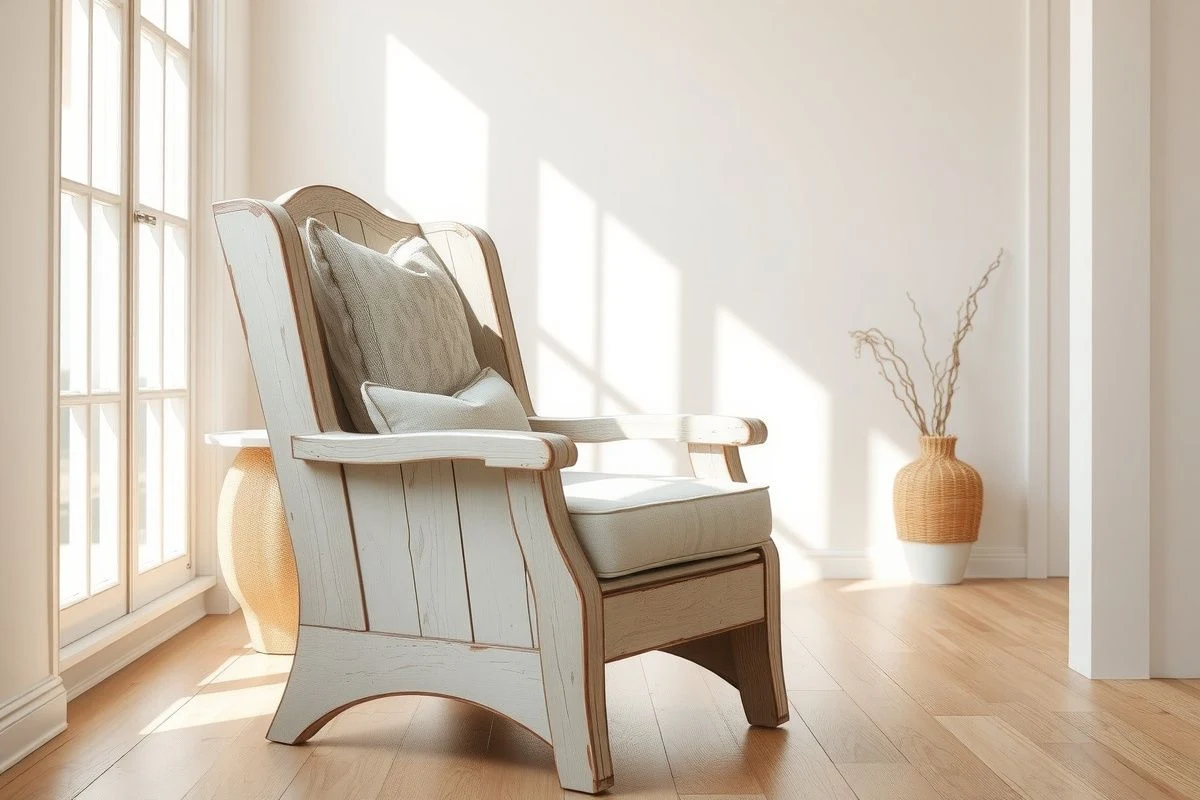
Many antique pieces look better with a distressed finish. The technique of distressing involves painting a base coat, letting it dry, painting a different colour on top, and then sanding strategically to reveal both layers. Choose colours that contrast softly: white with grey, cream with sage green, or light blue with a darker blue. Sand carefully on edges, corners, and points of natural wear, as if the furniture had been in use for years. The effect is subtle yet elegant, perfectly achieved in an afternoon.
If the furniture has fabric parts like seats or backs, consider upholstery. For a weekend, you’re not going to redo everything, but you can change a cushion or do partial upholstery. Measure the area to be covered well, add 5 centimetres of margin on each side, and choose a fabric that contrasts or complements your palette. To attach fabric to wood without sewing, use upholstery staples and a manual stapler. Stretch the fabric evenly, securing the centre of each side first and then the corners. Finish the edges with decorative tape or lace if you want a professional look.
The finishes on hardware and details make the difference between a revamped piece and one that looks new. Does it have old handles? Replace them with new ones in brass, matte black, or wood, depending on your style. If you don’t want to spend on new hardware, clean the existing ones with a specific product: they’ll look like they just came out of the store. Updated and shiny screws enhance any transformation.
A final protective varnish is essential if you’re going to use the furniture regularly. Use a clear polyurethane or acrylic varnish, which protects the paint or stain from scratches, water stains, and dust. Two thin coats provide more durability than one thick one. Let it dry completely before moving the furniture: between 24 and 48 hours depending on the product.
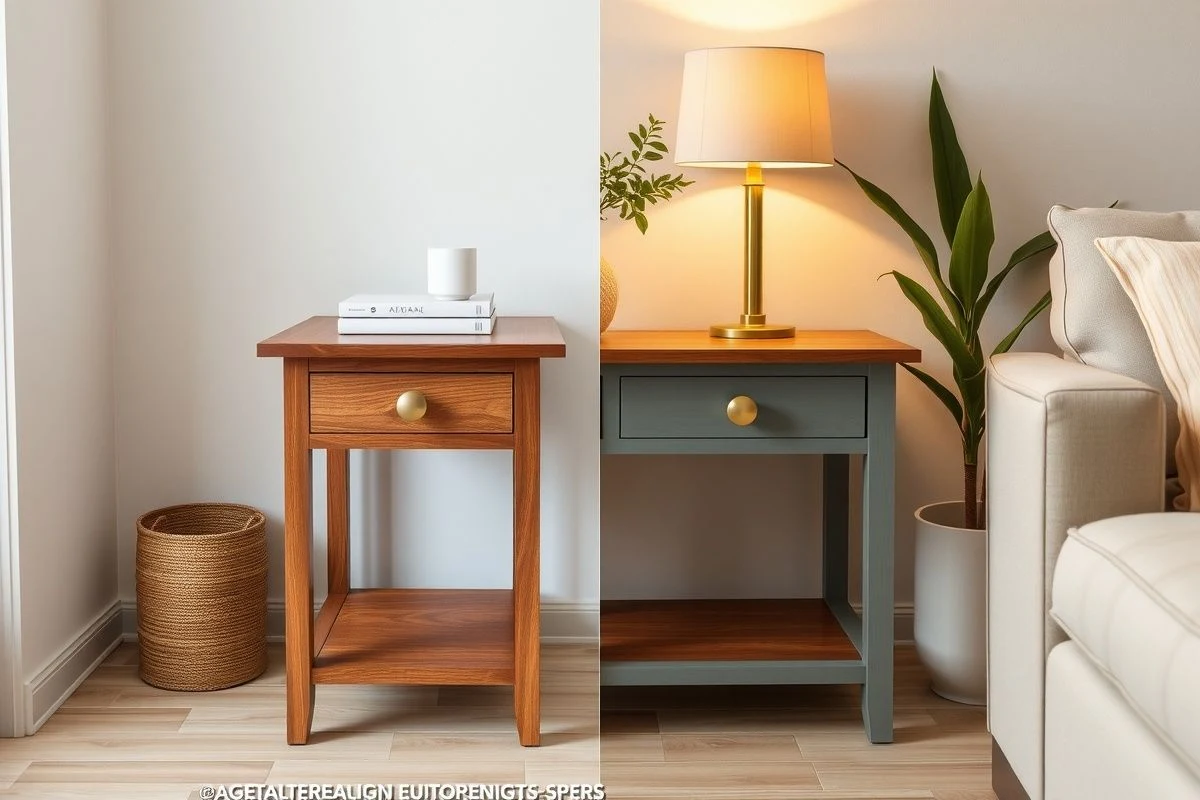
I confess that the most satisfying moment comes when on Sunday afternoon you see your transformed piece in its final space. A chair that was bland becomes a focal point with a bold colour. A side table that was tucked away now has presence. This small success encourages you to look for the next project, and before you know it, your home has character made by hand.
Revamping second-hand furniture is not just an economical or ecological act, although that matters too. It’s a way to fill your home with pieces that have history and that you have shaped to your taste. And believe me, that has a value that no factory-made piece can match. The next time you see a worn piece with potential, don’t hesitate: a weekend is all you need.

You may also like