At Casa y Deco, we love transforming a piece of furniture with a can of paint, but I confess that my first attempts at painting melamine were a disaster: chipping after two weeks, paint that peeled off with just a touch. After trying, failing, and trying again, we discovered that the secret lies in proper preparation, not in the paint itself.
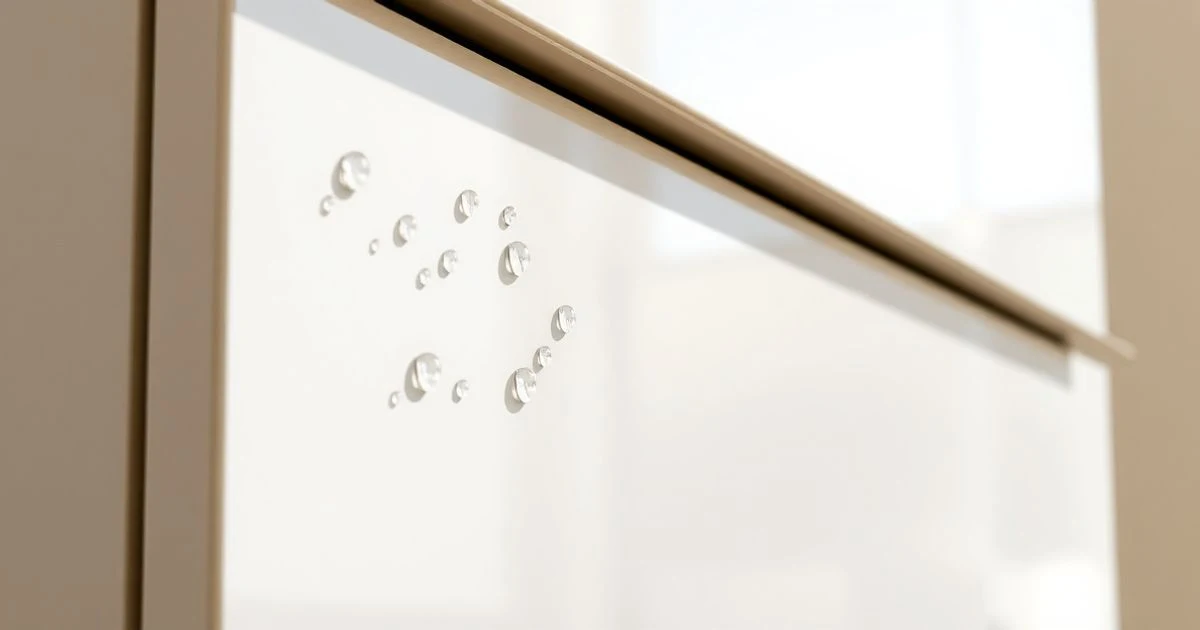
Melamine is a tricky material to paint because its surface is very smooth and repels paint. Unlike solid wood, which has pores that allow paint to adhere, melamine requires special treatment. If you jump straight to painting, it’s like writing with a pen on plastic: it simply won’t stick.
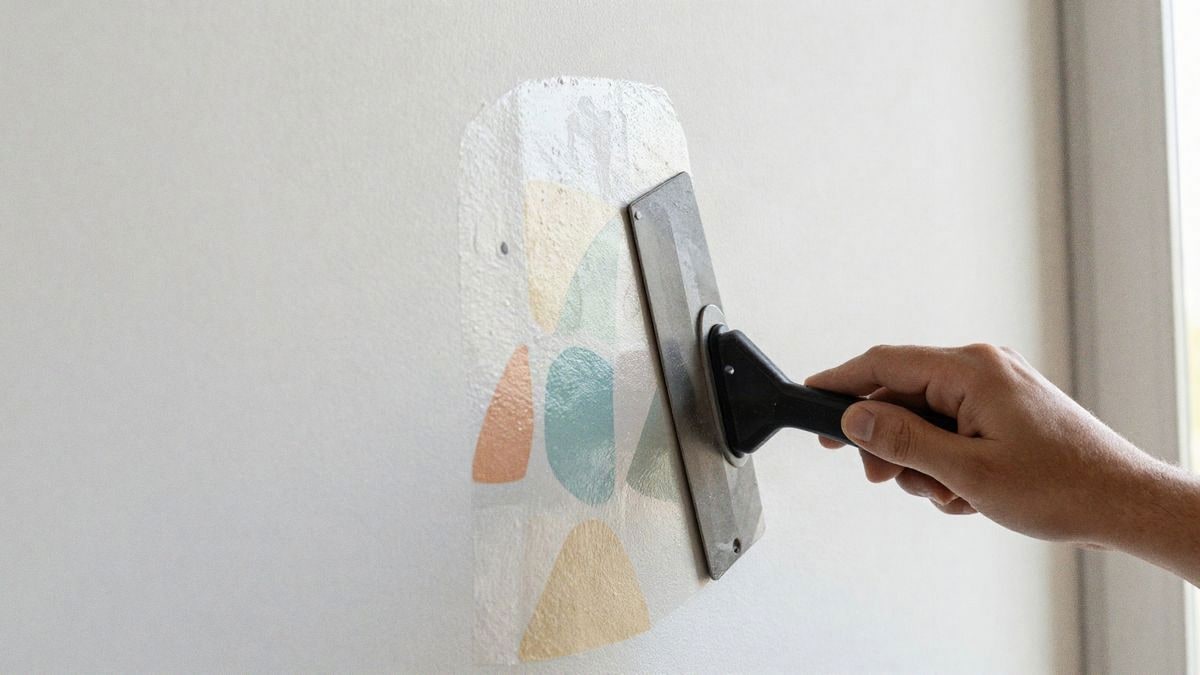
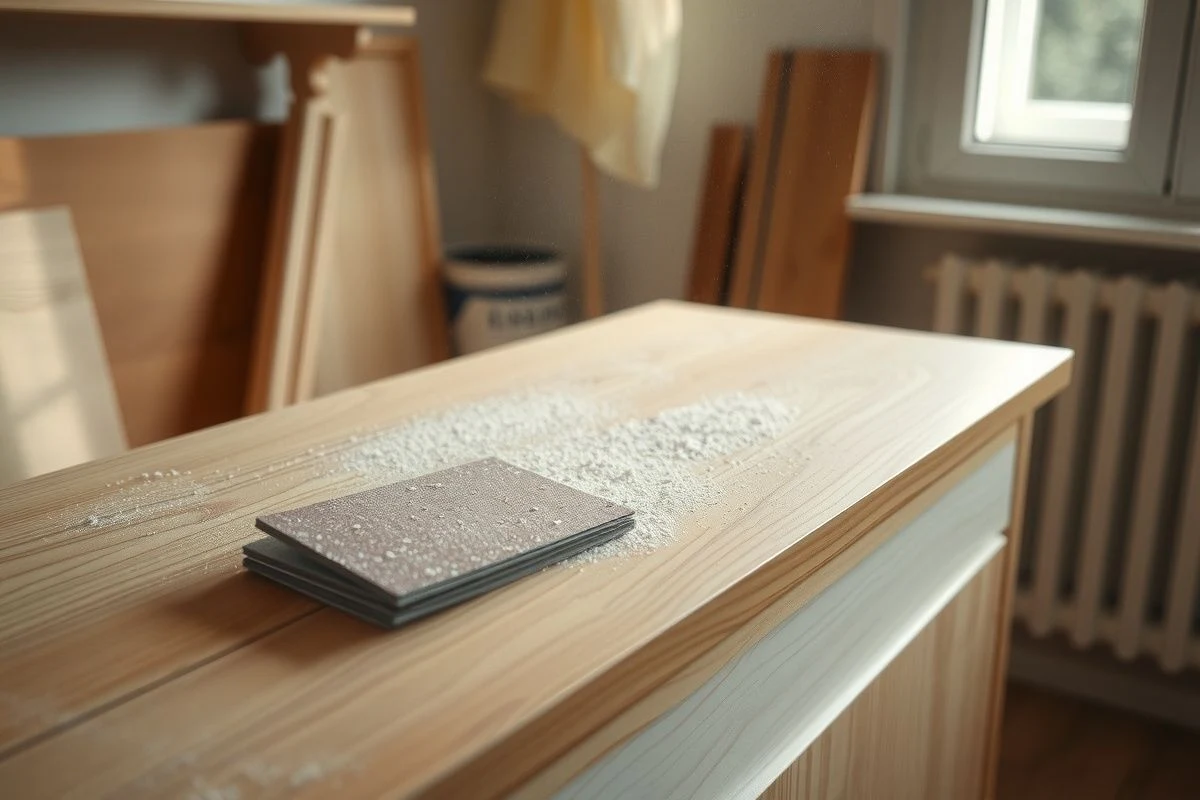
The first step you cannot skip is sanding the entire surface. There are no shortcuts here: grab some 120-grit sandpaper and work on the entire area of the furniture you are going to paint. This isn’t to remove the melamine, but to create tiny microscopic grooves where the paint can grip. Take your time with this; if you rush, you’ll find the problem returns in a few months.
Preparation: The Step That Changes Everything
Once you’ve sanded the surface, thoroughly clean with a damp cloth to remove all dust. Let it dry completely. Many people skip this step and then wonder why the paint doesn’t adhere; the dust forms a barrier between the melamine and the paint.
Now you need a primer specifically for difficult surfaces. Not just any primer will do: look for one formulated for plastics, melamine, or low-adhesion surfaces. There are options available at most DIY stores, and believe me, it makes a difference. Apply two thin coats instead of one thick one: this creates much better adhesion than a single coat and reduces the risk of it running.
Let the primer dry for the time indicated by the manufacturer, which is usually between 2 and 4 hours, although ideally, you should wait overnight if you have the time. Don’t try to speed this up by thinking a hairdryer will do; it needs to dry completely to work.
Choosing the Right Paint
This is where many go wrong by buying any decorative paint. For melamine, you need high-adhesion paint, preferably good quality acrylic or specific furniture paint. Standard wall paints will inevitably chip on surfaces that are constantly used and rubbed, like furniture.
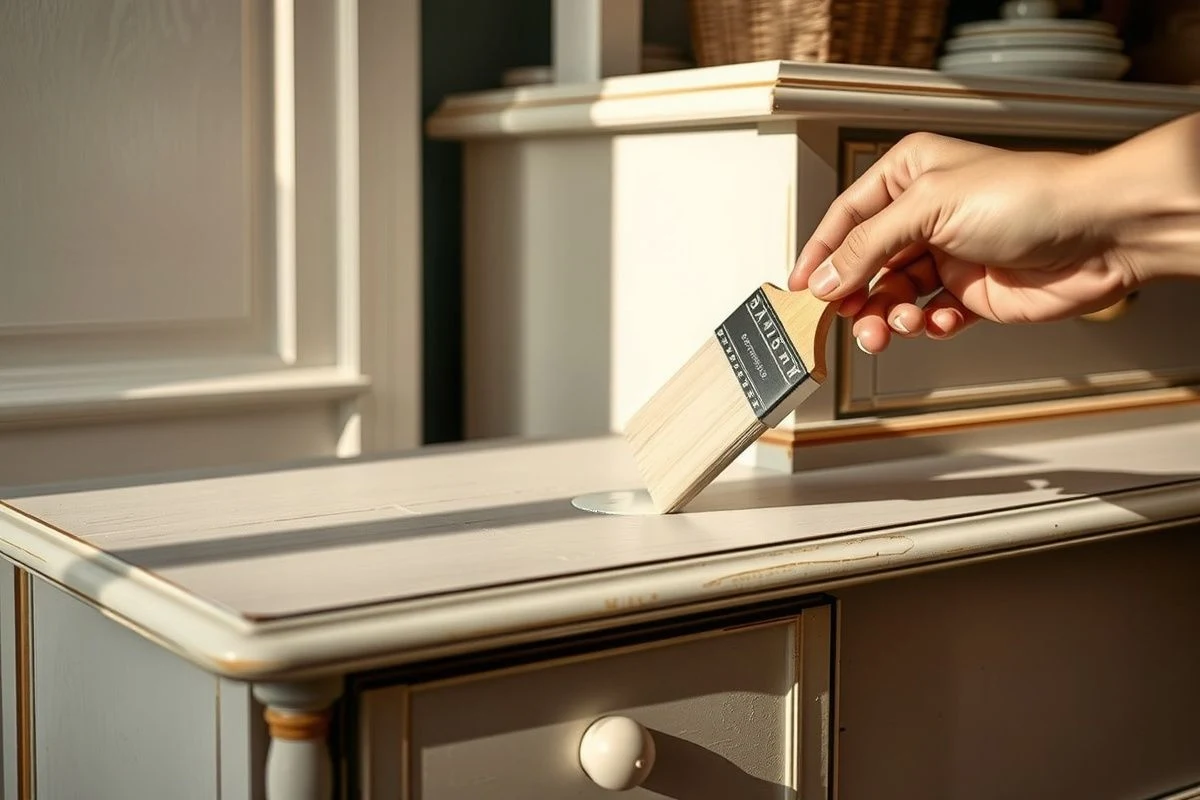
Apply the paint in thin layers: two or three coats are much better than one thick one. Between coats, wait the recommended time, and if you see small irregularities, lightly sand with very fine sandpaper (220 grit) between layers to ensure the next one adheres well. This may seem like extra work, but it’s what distinguishes a job that lasts for years from one that deteriorates in weeks.
If you want a special colour and can’t find the pre-mixed paint, you can tint a white base paint with paint colourant. Stir it well and do a test on a piece of cardboard first; colours can vary quite a bit when they dry.
Final Details That Matter
Once you have your furniture painted, the temptation to use it immediately is strong, but let the paint cure completely before moving or using the furniture. This can take between 24 and 48 hours depending on the type of paint. I know it’s boring, but if you use it too soon and marks or scratches appear, the paint won’t be hard enough to self-repair.
If the furniture will receive a lot of use (like a desk or a side table that gets constantly rubbed), consider applying a protective polyurethane varnish in two thin coats once the paint has cured. This adds an extra layer of protection that prevents future chipping. Choose a matte varnish if you want the paint to maintain its original appearance, or glossy if you prefer a more robust finish.
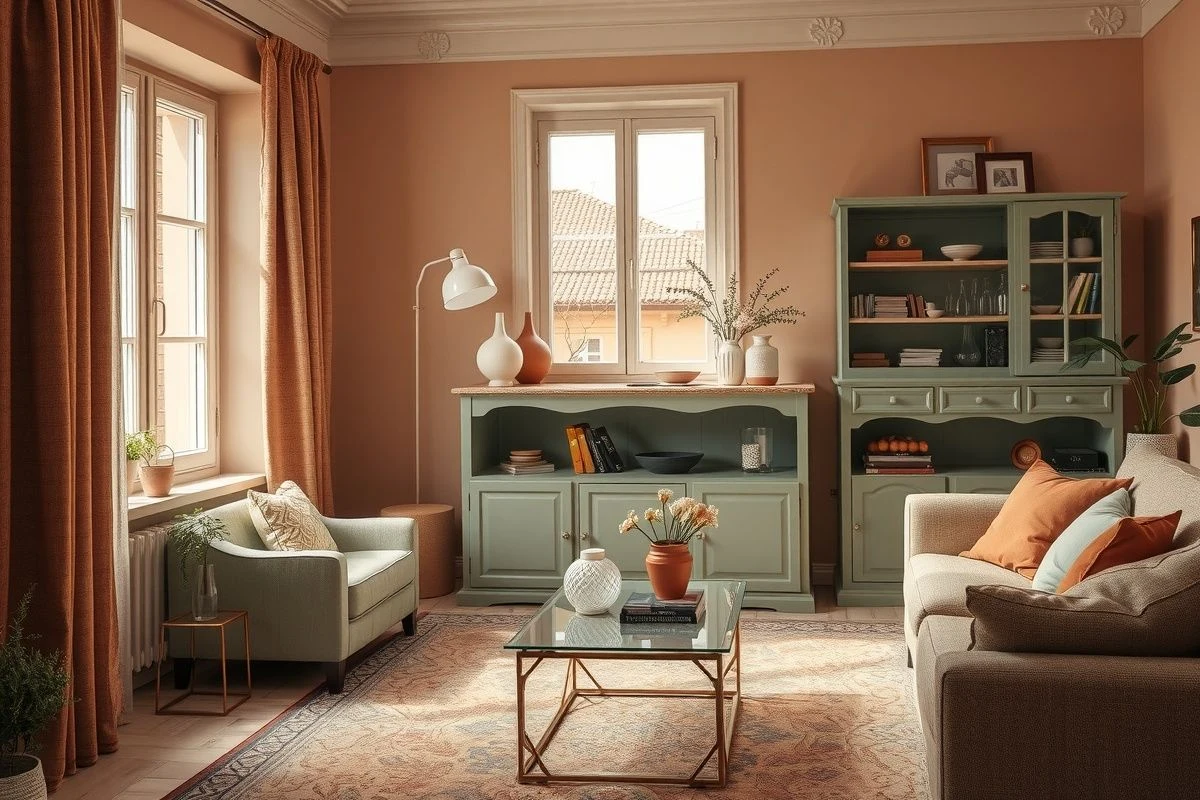
The key is to understand that melamine requires patience in preparation. I have seen spectacular transformations of boring melamine furniture into beautiful pieces that have lasted for years, simply because the work was done right from the start. It’s not more expensive, it just requires time and a bit more care in the preliminary steps.

You may also like