At Casa y Deco, we love discovering decoration projects that seem complicated but turn out to be surprisingly accessible. Curtains are one of those elements that transform a space, but many people see them as an impossible task if they don't know how to sew. The good news is that there are several totally functional and aesthetic methods to achieve this without threading a needle through fabric or learning sewing patterns.
I confess that for years I thought that homemade curtains always required a sewing machine. Until I discovered that there are solutions as effective as traditional sewing, and much quicker too. The time it takes to make a cup of coffee is all you need to complete some of these methods. The best part is that the results are indistinguishable from conventionally sewn curtains, at least from a distance and in natural light.
Heat-Activated Adhesive: The Fastest Option
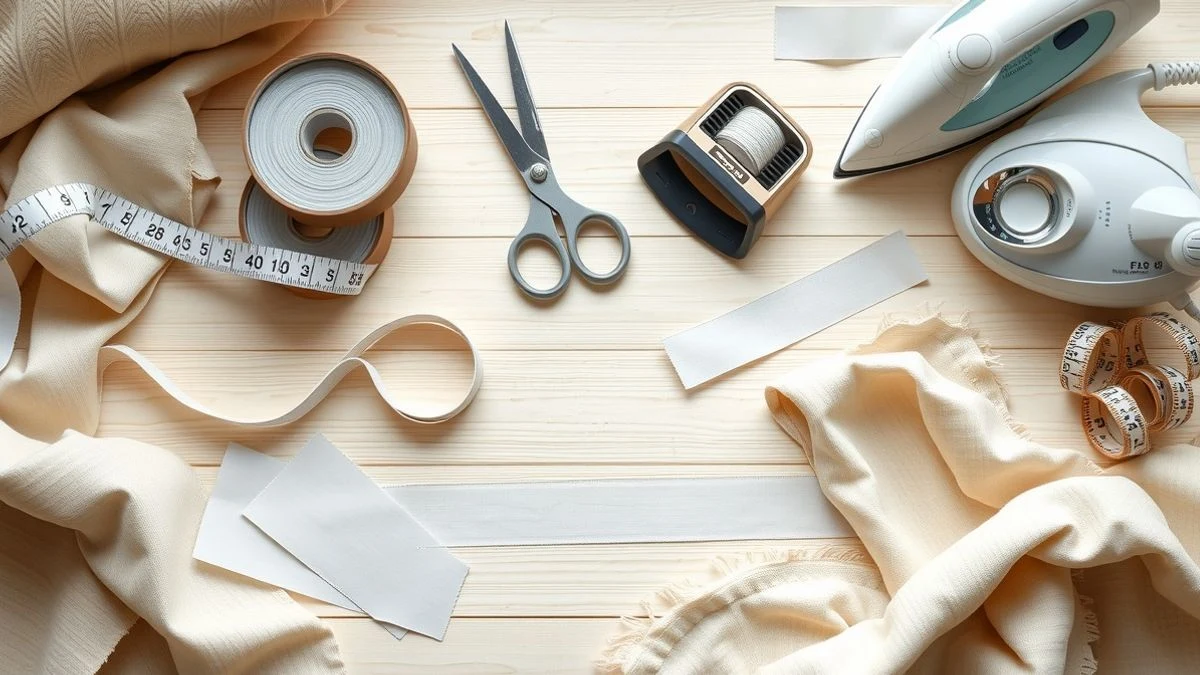
Heat-activated adhesive is probably the most popular and straightforward method. It is a special tape that is activated by heat and permanently fuses two layers of fabric together. You can find these tapes in craft stores, online haberdasheries, and large retail chains. They come in different widths, usually between 0.5 and 2 centimeters, allowing you to choose according to whether you need to reinforce just the hem or create a more substantial finish.
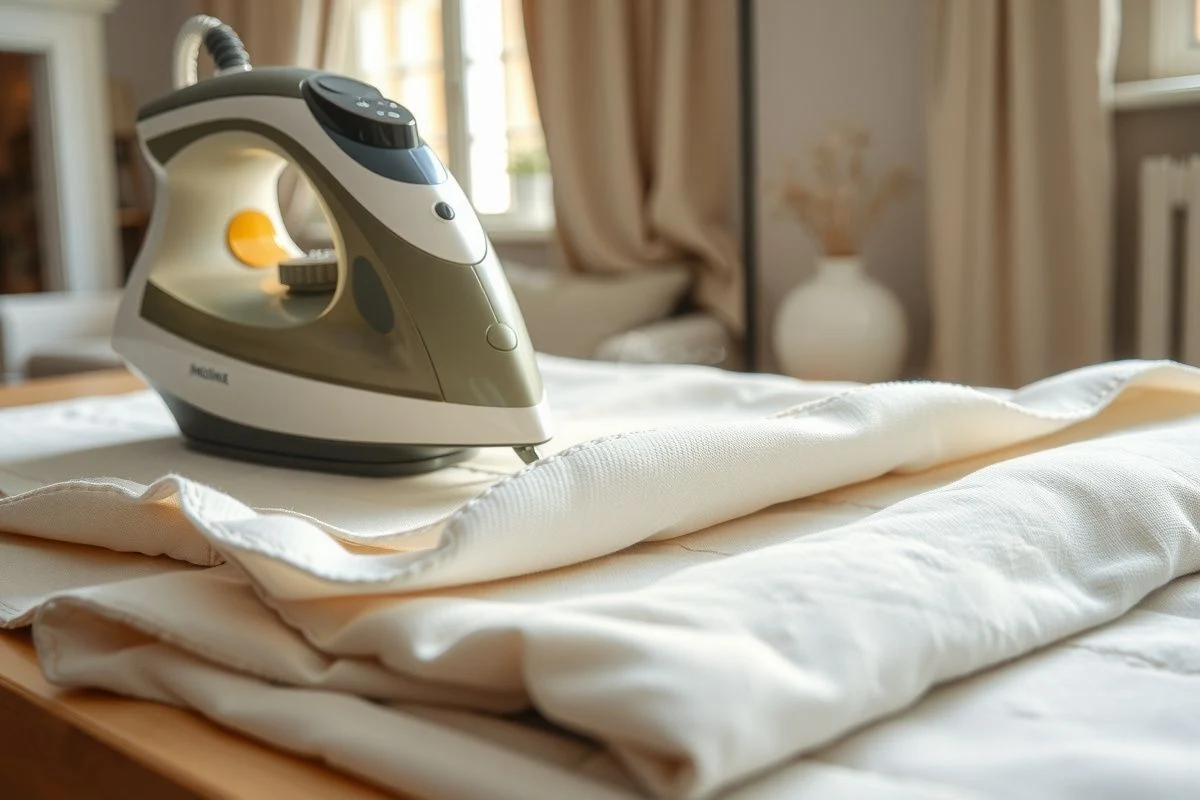
The process is very straightforward. First, iron the curtain fabric to remove wrinkles. Then, fold the bottom or side edge back the amount you desire (usually between 3 and 5 centimeters for a standard hem). Place the heat-activated tape between the folded fabric and the main fabric, ensuring it is well positioned. Finally, run a hot iron over the area for about 10-15 seconds, applying constant pressure. The tape melts and seals the layers permanently.
Some practical tips: use the iron at a medium-high temperature, never maximum, because extreme heat can damage the fabric. Check the manufacturer's instructions, which are usually printed on the roll. If the fabric is synthetic or delicate, test it first on a small piece. For large curtains, do the process in sections of 20-30 centimeters to ensure that the entire tape is well fused.
Double-Sided Tape: Reversible and Clean
If you prefer a completely reversible method that leaves no permanent mark on the fabric, double-sided tape is your best ally. It is designed for crafts but works surprisingly well on lightweight and medium curtains. The advantage is that you can peel off the tape at any time without damaging the fabric.
Clean both the fabric and the curtain rod or the area where you will attach it. Moisture and dust prevent the adhesive from sticking properly. Place strips of double-sided tape on the back of the curtain, spaced every 10-15 centimeters. Remove the other protective side and press the curtain firmly against the rod or wall for a few seconds. This method works best on lighter curtains, made of fine cotton or lightweight synthetic fabrics. It is not ideal for thick velvet or wool curtains, as the weight eventually causes it to peel off over time.
Staples and Velcro: Mechanical and Durable Solutions
Upholstery staples are another excellent option, especially if you have a staple gun (also known as an upholstery stapler). Place the curtain over the rod and secure it with staples every 5-8 centimeters. The result is very secure and durable. The staples remain hidden beneath the fabric, so they are not visible from the front. For a cleaner finish, sew (or glue with heat-activated adhesive) a decorative hem at the top to cover the staples.
Velcro is another brilliant mechanical alternative, especially useful if you want to change the curtains frequently. Stick adhesive Velcro strips to the rod or track. Then attach the other part of the Velcro to the top of the curtain. When you need to wash or renew the curtains, simply peel them off and that's it. This method is also ideal for curtains that you want to be completely removable without leaving marks.
Permanent Fabric Glue: For Professional Finishes
Special fabric glues offer very professional results when applied correctly. Unlike heat-activated adhesive, these dry in the air and create a flexible bond that moves naturally with the fabric. You will find specific brands for fabrics in craft stores or online.
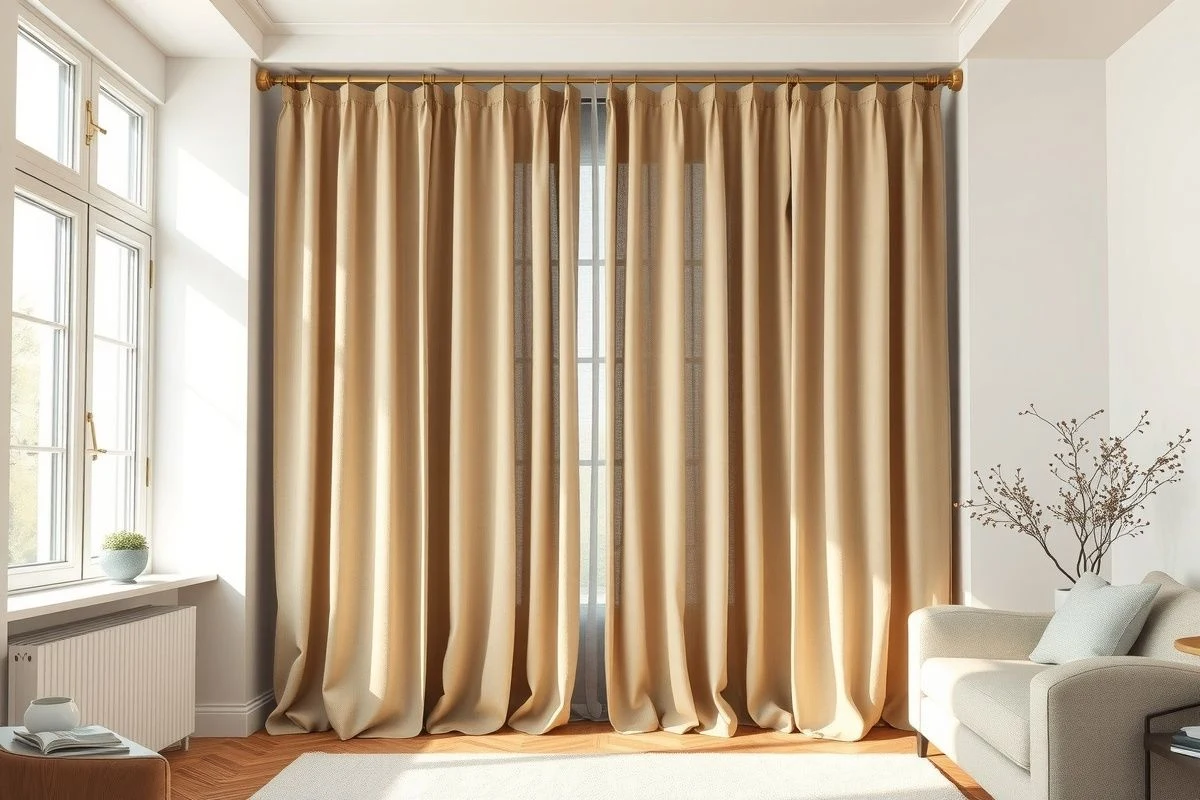
Apply the adhesive in a fine, even line along the hem. Press the two layers of fabric together for the time indicated by the manufacturer, usually 24 hours. Some dry in less time, but it's best to wait the full time to ensure a robust bond. Once dry, the glue is as durable as a traditional seam, and it is also washable if you use a good quality product.
No-Stitch Hemming Technique with Measuring Tape
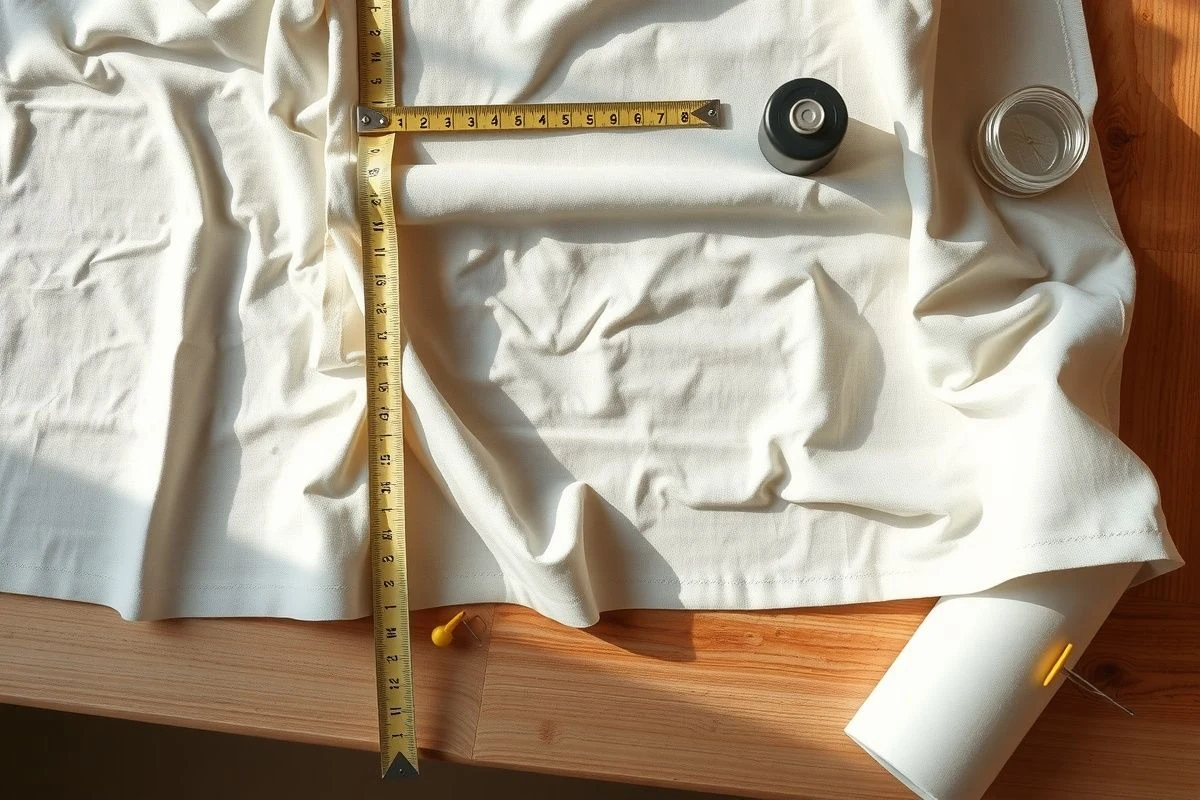
If you are working with long curtains, here comes a professional trick we have seen done in sewing workshops: use a measuring tape glued with heat-activated adhesive to create uniform and perfect folds. Measure exactly where the hem should go at each point of the curtain. Mark with a washable fabric pencil or with pins. Fold the fabric according to those marks and apply the adhesive.
This method guarantees you symmetrical and professional folds, especially important in large curtains where it is easy for the folds to end up uneven. Additionally, folding and gluing in several phases gives you time to adjust details before making the final fusion with the iron.
Practical Combinations: Mixing Methods for Maximum Durability
In practice, many decorators and enthusiasts combine two methods to get the best of both. For example, use staples at the top of the curtain to secure it to the rod, and then apply heat-activated adhesive or fabric glue on the sides and bottom. This way, you achieve a very strong and durable hold without sewing anything at all.
Another winning combination is Velcro at the top, which is where it bears the most tension, and heat-activated adhesive at the bottom hem. The Velcro allows you to easily dismantle the curtain for washing, while the adhesive on the hem keeps the shape and finish impeccable.
Key Tips Before Starting Your Project
Take precise measurements. Curtains are decorative but functional, and if they measure 5 centimeters more or less than necessary, the effect suffers. Measure from the track or rod to the floor, and from one end of the wall to the other. If you want a length that almost grazes the floor, add 2-3 centimeters more. If you prefer it to end right at the floor, measure exactly. Do not improvise with the measurements; write down each one.
Choose the right fabric. Natural fabrics like cotton and linen work best with heat-activated adhesives. Synthetics also work well, but always test first on a small area because some plastics may react poorly to heat. Very thick fabrics or those with complex textures are more difficult to work with using no-sew methods; better to opt for staples or Velcro.
Invest in basic tools: a good iron, a long metal ruler, sewing pins, and a washable fabric pencil. You don't need expensive equipment. If you are going to use staples, a good quality staple gun doesn't cost much and you will reuse it for life. Most of the rest you probably already have at home.
If there's one thing we've learned at Casa y Deco, it's that decoration projects don't have to be perfect to be effective. Curtains made without sewing look exactly like those made in a workshop, hang well, and last for years if you use the right methods. The important thing is to choose the method that best suits your type of fabric, the weight of the curtain, and how much time you can invest. From here, we encourage you to try: it's easier than it seems, and the result will surprise you.

You may also like