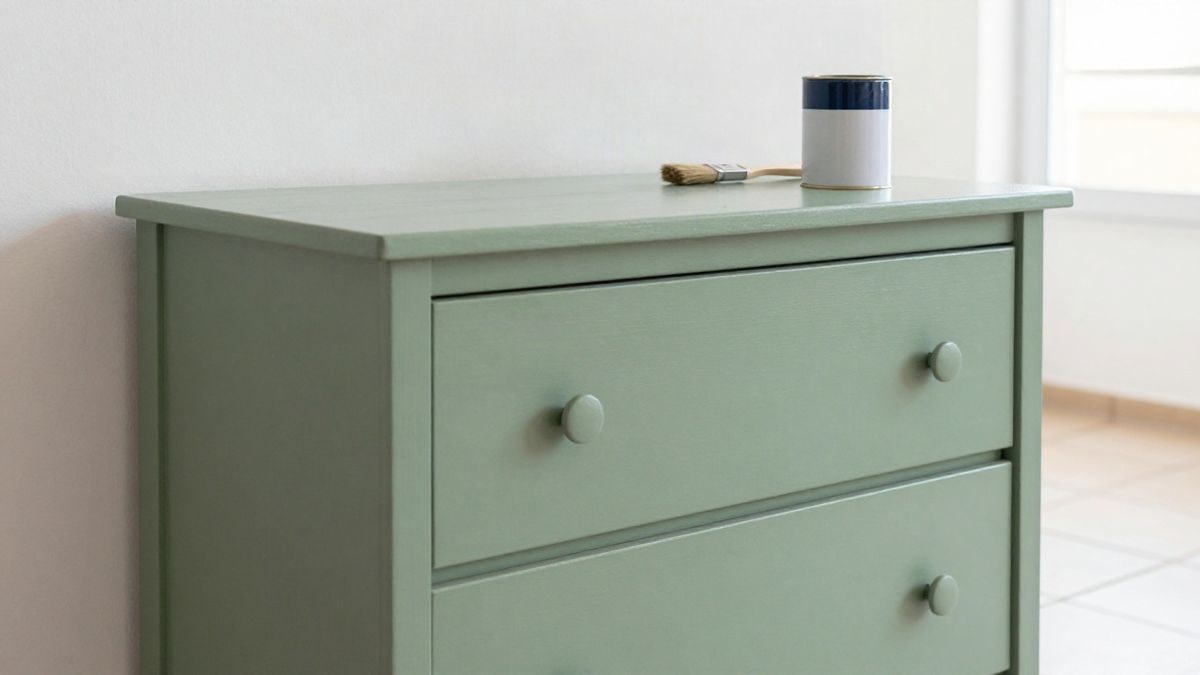
If you're thinking about how to paint wooden furniture without sanding, don't worry, it's not a crazy idea. At Casa y Deco, we love it when someone rescues a grandmother's dresser from the attic, because behind every piece of furniture, there's a story and a desire to give it new life. The short answer is yes, it can be done, as long as you follow the right steps and choose the right paint. The long version is explained below.
The first thing to know is that sanding is often recommended to achieve a uniform finish because paint adheres better to a surface with some roughness. But it's not always essential. If you want to skip the sanding, and with it the dust that ends up in every corner of the house, you can achieve a very respectable result by following specific guidelines and choosing the right product.
Before Painting: Cleaning and Disassembly
This step is the one most people skip, and it's the one that shows the most afterwards. Take a cloth dampened with water and a bit of neutral soap and wipe down the furniture in all corners, including the edges and the back of the drawers. If the wood has wax, kitchen grease, or residues from cleaning products, a mild degreaser will work wonders. Allow it to dry well before proceeding, as trapped moisture can ruin adhesion.
Next, disassemble what you can: doors, drawers, hinges, and handles. Keep the screws in a small labelled container, because I confess that the first time I tried to paint a pine sideboard, I ended up searching for screws on the floor for half an afternoon. Working with the pieces separated also ensures a uniform result, especially on the fronts of the drawers, which are the most visible.
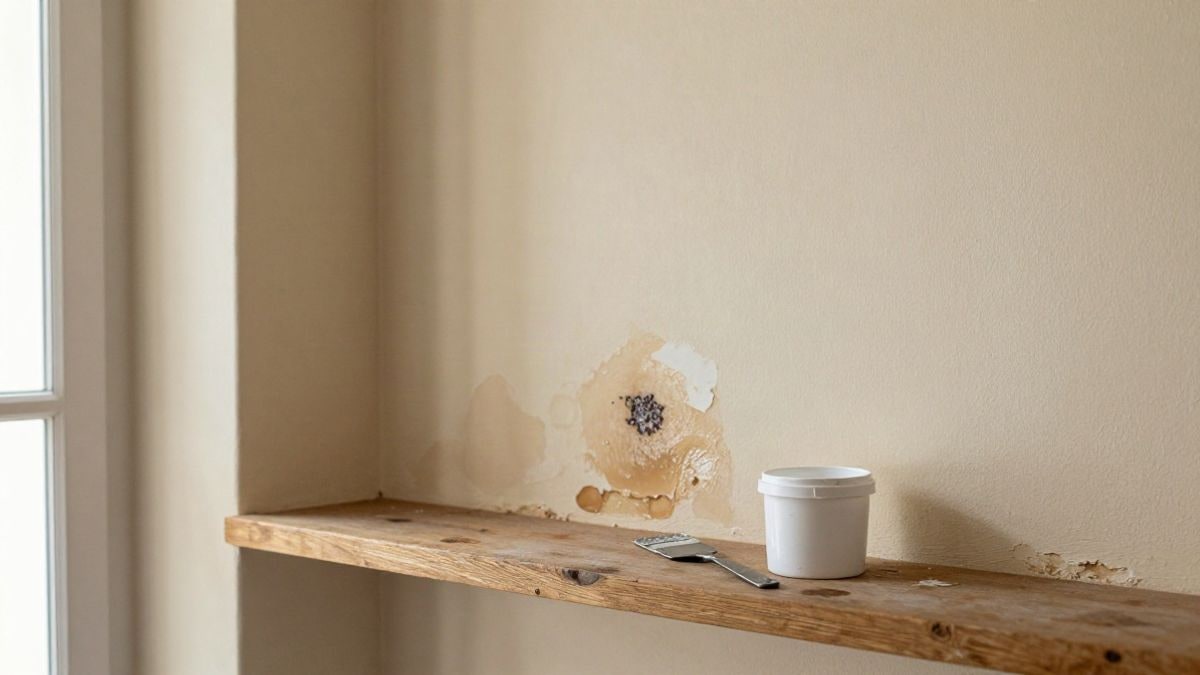
Also check the condition of the wood. If it has cracks or small chips, fill them with wood filler and wait for it to dry before starting. A couple of hours of patience here will save you from a finish full of irregularities.
Priming: The Step Not to Skip
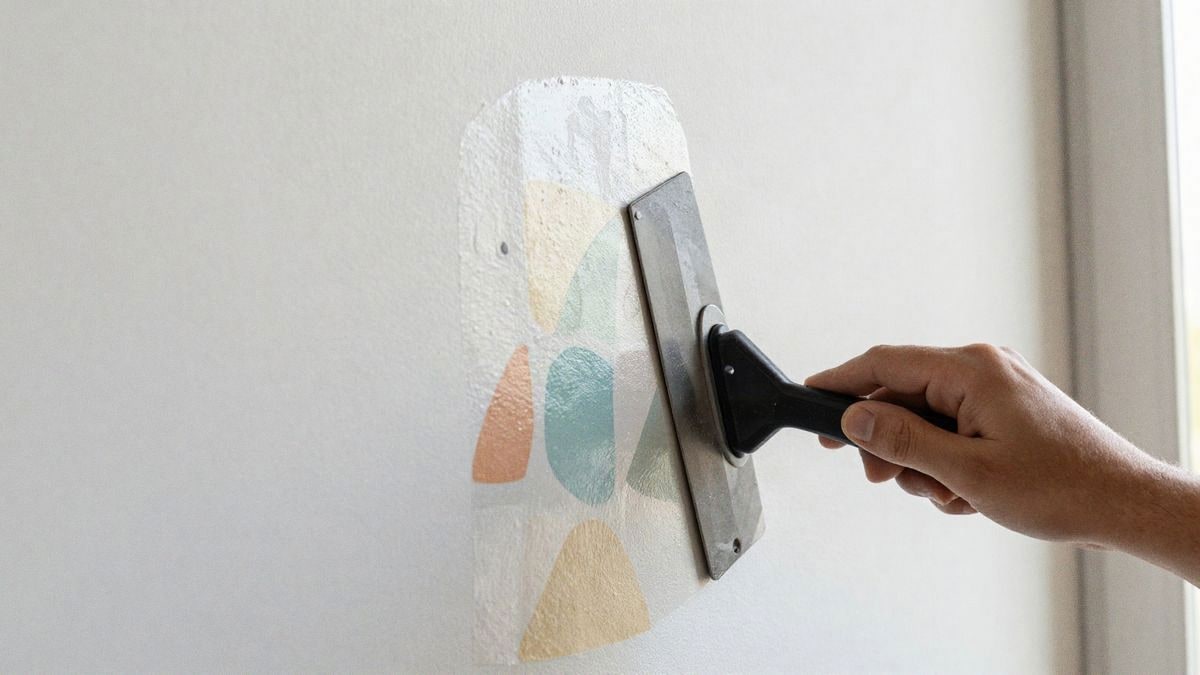
Here lies the real secret. Priming is a first layer of special coating that seals the wood, helps the paint adhere, and improves grip. It also makes the surface more homogeneous, which is appreciated when the furniture has areas that are more absorbent than others, like the edges of a board or the more open grains of oak.
Apply it with a brush or a foam roller, in a thin layer, and let it dry for the time indicated by the manufacturer. It doesn't have to be perfect. The important thing is to cover the entire piece without leaving pooled drops in the corners, as those drops dry with a raised texture and are very noticeable.
Choosing the Right Paint
This is the big decision, and it mainly depends on the effect you're looking for. Chalk paint is the favourite option for those wanting a rustic or aged look. It has a matte and velvety finish, applies easily, and dries quickly. Additionally, it comes in a wide variety of colours, making it easy to find a shade that fits with the rest of the room. To clean the brush, just use water and soap, which you'll appreciate when you're done.
However, chalk paint requires a finish. If you want to protect it, a varnish or wax over the dry surface extends its life, especially in kitchen or entryway furniture, which gets touched more often.
Acrylic paint is another very practical alternative. Its great advantage is that, in many cases, one coat is enough to cover, saving time. However, if the furniture has a glossy lacquer, don't trust it without priming. Without that step, the material may slip, have areas without adhesion, or peel with use.
How to Apply the Paint Step by Step
Start with the smaller elements and hard-to-reach areas, like mouldings, turned legs, or gaps between slats, and leave the flat surfaces for last. Use a brush for details and a roller for larger areas. This will help you avoid brush marks in the most visible spots, which are usually the fronts of doors and drawers.
We recommend applying two coats of paint, although the number depends on the effect you desire. If you want a more opaque finish, apply the second coat when the first is completely dry to the touch, respecting the times on the label. As a general rule, 24 hours of waiting before reassembling the pieces is the most sensible, especially if the furniture will bear weight or be subject to friction.
Once everything is dry, reattach hinges, handles, and doors. This is when the furniture starts to look new, and you realise that the effort was worth it. And if you ultimately decide that the result needs more character, a second coat of a different shade or a light pass of wax usually makes a difference.
Common Mistakes and How to Avoid Them
The first is painting without cleaning. It seems obvious, but dust and grease are direct enemies of adhesion. The second is being in a hurry: painting over a layer that is still wet creates marks and sticky finishes. The third, perhaps the most tempting, is choosing a colour on impulse without testing it first. Paint a sample on a side or the back of a door and see how it changes with morning and afternoon light. We are not convinced by colours that seem perfect in the store and then turn cold in the living room.
Another common mistake is forgetting the wood inside the drawers or the back. There's no need to paint them if they aren't visible, but it's wise to clean and protect them so that the furniture ages uniformly.
Frequently Asked Questions About Painting Furniture Without Sanding
What happens if I paint furniture without sanding? If the paint isn't suitable for the surface, it will tend to slip and won't adhere well. That's why priming and choosing a product designed for unsanded wood is so important.
What is the difference between chalk paint and acrylic paint? The main difference lies in the composition. Chalk paint has more fillers, which ensure good coverage and a matte finish, while acrylic paint has more resin, which increases adhesion and surface hardness. If the furniture will undergo a lot of use, acrylic usually holds up better. If you're looking for an aged effect, chalk wins hands down.
How do you clean the brush after using chalk paint? With water and soap, that's all. The sooner you do it, the better, because dried paint is much harder to remove.
A Piece of Furniture with History, Ready for the Living Room
A piece of furniture that has been in the attic for years can return to your home in a weekend, with a good cleaning, a layer of primer, and two coats of well-chosen paint. Start with a small piece, like a side table or a stool, to build confidence, and then tackle the sideboard. Your home will thank you.

You may also like