At Casa y Deco, we love discussing those problems that ruin our spaces and that we have all suffered at some point: those dark stains on the walls, that musty smell that won't go away, or the paint that peels for no apparent reason. If this sounds familiar, you probably have a moisture problem that needs urgent attention. What many don't know is that moisture in walls is not just an aesthetic issue: it can deteriorate the structure of your home and seriously affect your health if it allows mould to appear.
The first thing we learn when facing how to remove moisture from a wall is that each type requires a different treatment. Moisture from condensation in the bathroom is not the same as rising moisture in an old house. Therefore, before arming yourself with anti-moisture paint and spatulas, you need to identify exactly what type of problem you have.
Identify the Source of the Problem
Here lies the key: you cannot permanently eliminate moisture if you don't know where it comes from. I confess that I have seen many renovations fail because they attacked the symptom (the stain) but not the cause. There are four main types you should know.
Condensation occurs when water vapour in the air collides with cold surfaces, such as poorly insulated walls. It is very common in bathrooms and kitchens, especially if you have little ventilation. If you see droplets of water on the glass or that typical fog after a shower, it's pure condensation.
Leaks happen when rainwater seeps in from the outside through cracks, fissures, or poor insulation materials. You will notice water stains on the exterior walls after heavy rain. This type is particularly dangerous because it deteriorates the structure over time.
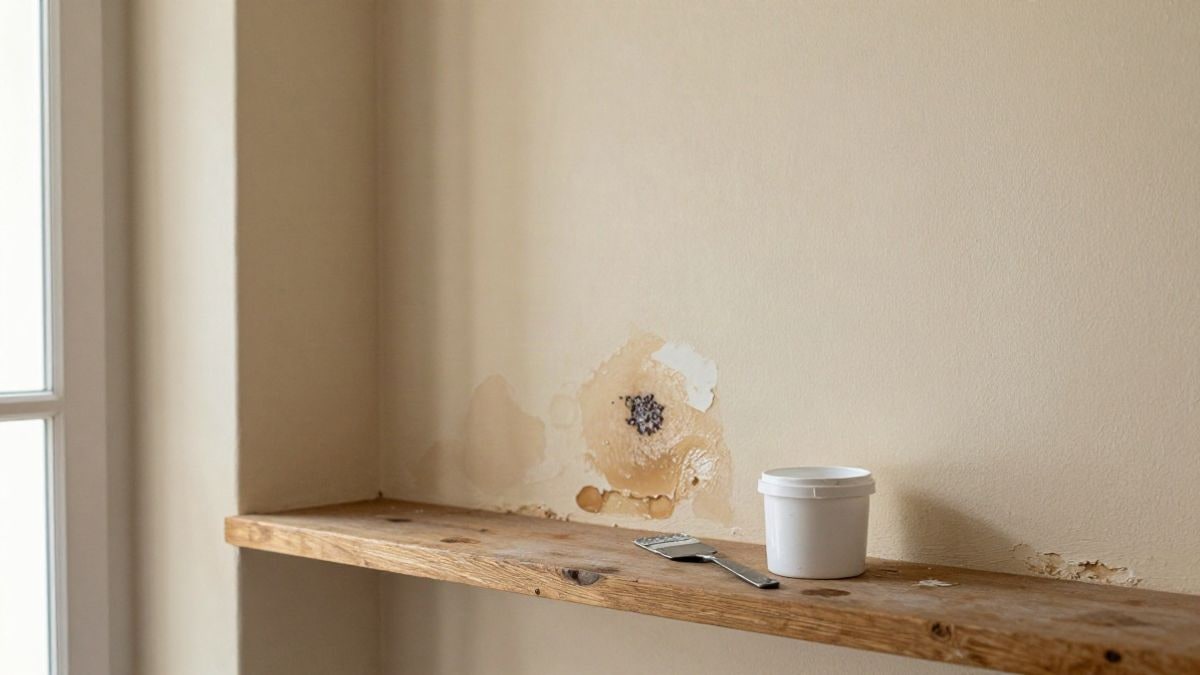
Capillary moisture is one of the most complicated. It occurs when groundwater rises through the walls to the surface, especially common in old houses or ground floors. If you see peeling paint at the bottom of the wall and skirting board detachment, it is likely this type.
Finally, structural problems such as broken pipes or internal leaks cause water accumulation. If the stain appears without a logical connection to external leaks or condensation, you most likely have a leak.
Practical Methods to Eliminate Moisture
Once the source is identified, it's time to act. Here are the solutions that really work, from the simplest to the most in-depth repairs.
For condensation, the first step is to improve ventilation. It sounds simple, but open the windows daily, even in winter, to refresh the air. In spaces without natural ventilation like closed bathrooms or basements, install an extractor fan or a controlled mechanical ventilation system. Cleaner air greatly reduces the likelihood of mould stains, and the house feels infinitely fresher.
Electric dehumidifiers are great allies. They absorb water vapour from the air and store it in a tank. They do not solve the source of the problem, but they do improve environmental quality and prevent moisture from condensing on the walls. They are especially useful in very humid climates or in rooms where ventilation is insufficient.
If the problem is a leak, the only definitive solution is to repair the point of water entry. This may involve sealing cracks with liquid silicone or water-repellent materials, renewing the facade insulation, or checking roofs and coverings. Don't postpone this: every day that passes, the damage grows.
For capillary moisture, you will need to install a waterproof barrier in the foundations, either through chemical injections or electro-osmotic systems. This is a deeper intervention that requires professionals, but it is the only way to stop the problem at its root.
If you detect internal leaks in pipes (common in bathrooms and kitchens), first locate and repair the leak. Once resolved, you can proceed to dry, sanitise, and repaint. These types of moisture are usually localized but very persistent.
The Final Finish: Paint and Specific Products
Once the source of the problem is resolved and you are sure the wall is completely dry, you can apply anti-moisture or anti-mould paint. This creates a protective layer that prevents mould from reappearing. Look for breathable options that allow the walls to "breathe" without accumulating water inside.
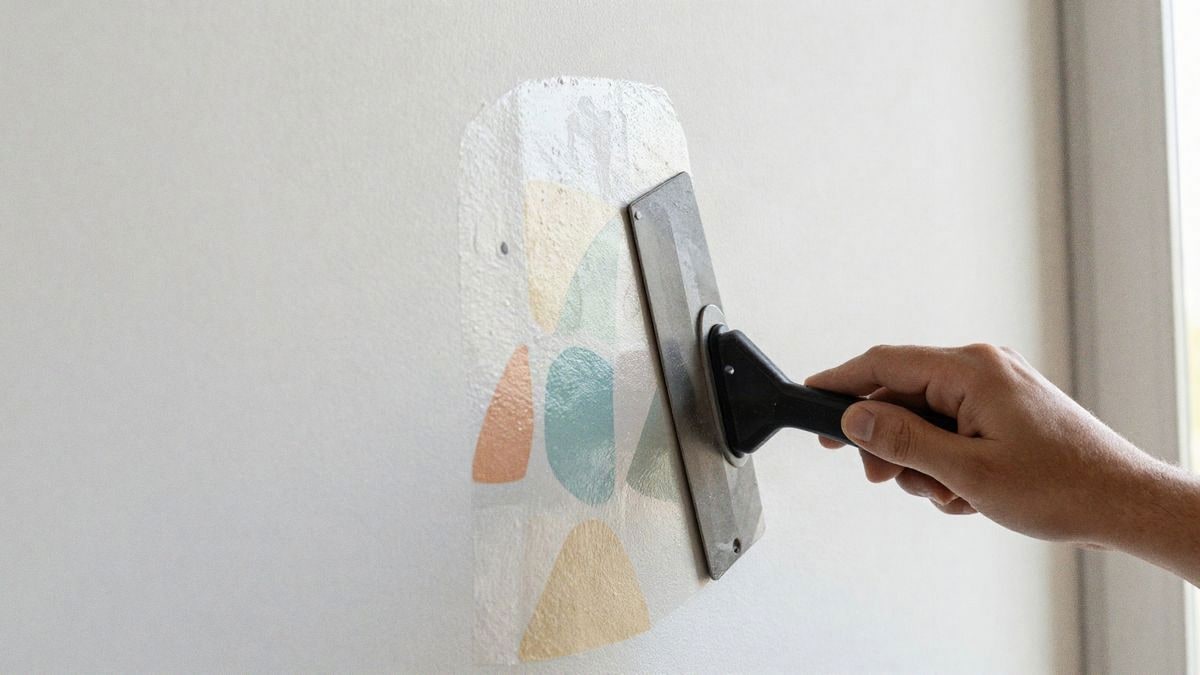
Before painting, remove all the damaged parts with a spatula. Clean up the dust well, apply anti-moisture putty to the damaged areas, and once dry, sand and clean again. This ensures that the final finish is durable.
If you prefer homemade remedies, you can use white vinegar in a spray bottle. Apply it to the stain, let it sit for a few minutes, and wipe with a damp cloth. For bleach, mix three parts water to one part bleach, apply with a cloth in a well-ventilated room, and let it dry without rinsing.
Prevention: The Best Ally
Once you have solved the problem, prevention is your best weapon. Ventilate periodically: air and sunlight renew the environment and dry out moisture. Avoid hanging wet clothes inside the house if possible, or use a dryer. If you use heating, keep it at room temperature to avoid condensation.
Good thermal insulation not only keeps your home more comfortable but also significantly reduces the risk of condensation. You can opt for interior insulation with specific panels or more comprehensive exterior solutions.
The reality is that removing moisture from a wall is a comprehensive process. It is not enough to apply a miracle product: you need to understand the origin, take practical measures, and, above all, prevent it from happening again. With patience and the right methods, you will achieve a healthy, durable, and much more comfortable home to live in.

You may also like