At Casa y Deco, we've experienced it more than once: we decide to move a picture, and the wall ends up looking like a sieve. That's why we've thoroughly tested the most recommended alternatives for hanging pictures without holes, especially considering those who live in rented accommodation and can't drill at will. Here are the methods that work, along with weights, surfaces, and the mistakes we made so you don't have to repeat them.
Before choosing a system, it's worth considering three things: how much the picture weighs with frame and glass, what type of surface you have in front of you, and whether you plan to move it in the future. With those three answers, how to hang pictures without holes stops being a question and becomes a matter of choosing the right piece. Manufacturers indicate the maximum load of each product on the packaging, and that figure takes precedence over any intuition.
Mounting Adhesive Strips, the Most Used in Rental Properties
These are the ones we get asked for the most. They look very similar to Velcro and work by adhesion, so the key is in the preparation. Clean the surface well to remove dust and grease, because without that, they won't stick. Then remove the protective paper from one half, stick it on the back of the picture, repeat with the other half on the wall, and make sure both match. If they don't fit, they won't hold. Press firmly and let the adhesive set before releasing the weight.
It's important to note that these are for indoor use. Extreme heat, constant humidity, or direct sunlight weaken the glue, and we wouldn't use them in a bathroom with a shower. They work very well for lightweight pictures, like prints or framed photographs. For a large heavy-framed mirror, it's better to look for another solution.
Adhesive Nails: Pay Attention to the Surface
Adhesive nails work similarly but have a plastic base that sticks to the wall and from which the hook hangs. The preparation is the same: clean, remove the protector, adhere the piece, and press for about 30 seconds. There are models designed for tiles, panels, and metal, and others for walls, wallpaper, and plaster, which can hold up to 2 kilos.
Here's a confession. The first time we bought a tile family nail and put it on a plasterboard wall because it "looked like it would work." It didn't last even an afternoon. Since then, the first thing we do is read the label and check the wall material. It may seem trivial, but it's half the victory.
The hooks from Fischer's Fast & Fix line are designed for tiles, melamine, and glass. Their use is identical to that of adhesive nails, and they have been very useful for hanging plastic baskets inside a melamine cupboard, where a conventional nail would be a bad idea.
Non-Adhesive Hooks, with an Almost Imperceptible Point
If the wall allows it and you don't mind a small point, non-adhesive hooks are a robust option. Those marketed by Inofix do not use glue, so they work both indoors and outdoors. There are models with one, three, or four points, and the choice depends on the weight you want to support.
The installation is simple: mark the spot where the object will go, place the hook at that point, and insert it with a hammer. That said, we won't sell you on the idea that it leaves nothing. It does leave a hole, albeit a very small one. What is true is that if you change your mind, the points are practically imperceptible once covered with a bit of filler in a colour similar to that of the wall.
For wood and plasterboard, Fischer's picture hangers, available in white and black, follow the same installation principle. Their first model supports 8 kilos, and if you chain two together, they can hold double. It's a useful solution for large frames, as long as the wall support is adequate.
Rail, Shelves, and Leaning Pictures: Decoration Without Tools
The museum rail is the most practical option if you frequently change your decor. It requires drilling once to fix it, but after that, you can raise or lower the pictures and change their position without touching the wall again. It's the kind of investment that pays off over the years, even if it costs a bit more on the first day.
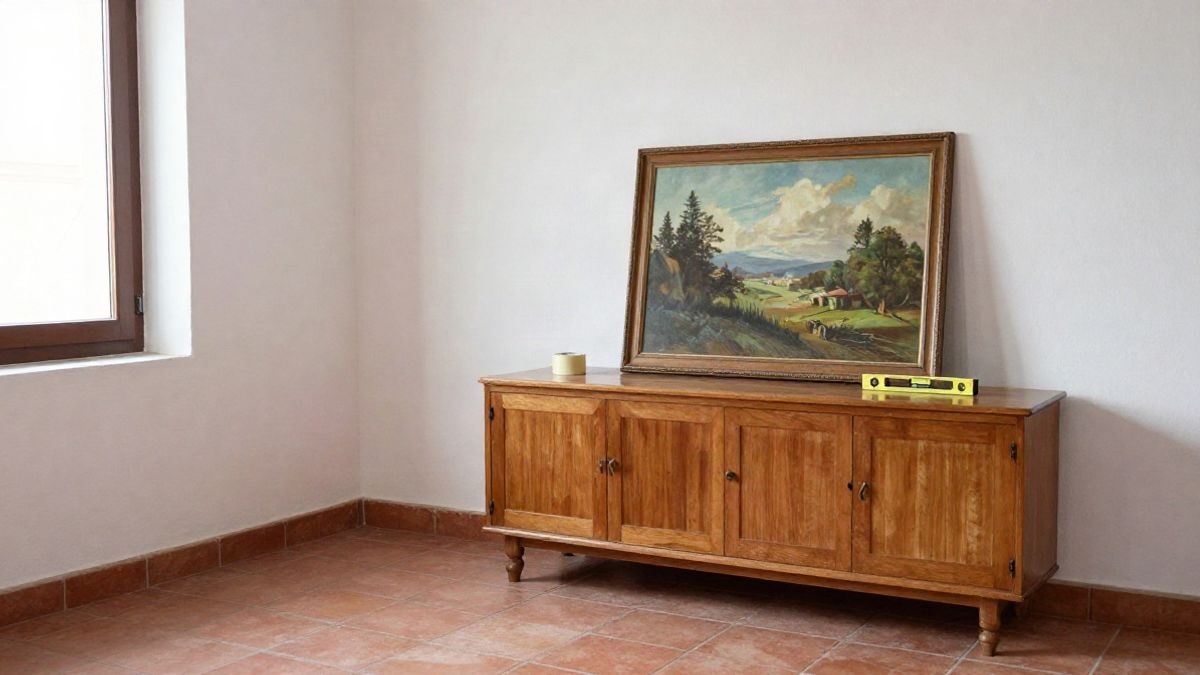
If what you're looking for is to touch nothing, leaning pictures on a sideboard, a dresser, or even the floor works very well. It gives a relaxed vibe that we love in living rooms with plenty of natural light. For small pieces, a shelf with some depth allows you to create a corner with personality without a single perforation. And if you have a piece with a special frame, an easel is an original way to showcase it. It may seem like a gallery idea, but at home, it looks surprisingly natural.
Finally, double-sided tape works for prints or very lightweight pictures. With a solid wood frame, it's better not to take risks. We tested it with a fairly large mirror, and the result was, let's say, very ungraceful: it ended up on the floor with a noise we still remember.
How Many Pictures to Hang and How to Distribute Them
Before you start sticking, it's worth thinking about the composition. To ensure the entire room feels balanced, calculate the square meters of the room and adjust the number of pictures based on the available space. A small wall can accommodate one or two well-centred pieces, while a spacious living room calls for a group that interacts with the furniture. Draw the layout on the floor with newspaper before touching anything. It will save you more than one wasted strip.
The great advantage of these systems is that they are largely reversible. If you tire of the result, remove the picture, clean the adhesive residue following the manufacturer's instructions, and place it elsewhere. Your wall will remain in good condition, and you can continue changing the decor without remorse.

You may also like