At Casa y Deco, we love the versatility of decorative vinyls: they are affordable, leave no permanent marks, and allow you to change the decor without commitment. But I confess that at first, those vinyls we bought for the living room peeled off after three months, and it was frustrating. Today we know exactly what makes a vinyl last for years without problems. It’s not magic: it’s preparation.
Decorative vinyls are a smart solution for renting or for those who don’t want to paint. The trick is to understand that vinyl is adhesive, but its adherence completely depends on where you place it. The surface is the most important: a vinyl on dust or old paint is a disaster waiting to happen. Most peel-offs don’t occur because the vinyl is bad, but because the wall wasn’t ready.
Prepare the wall as if it were the most important thing
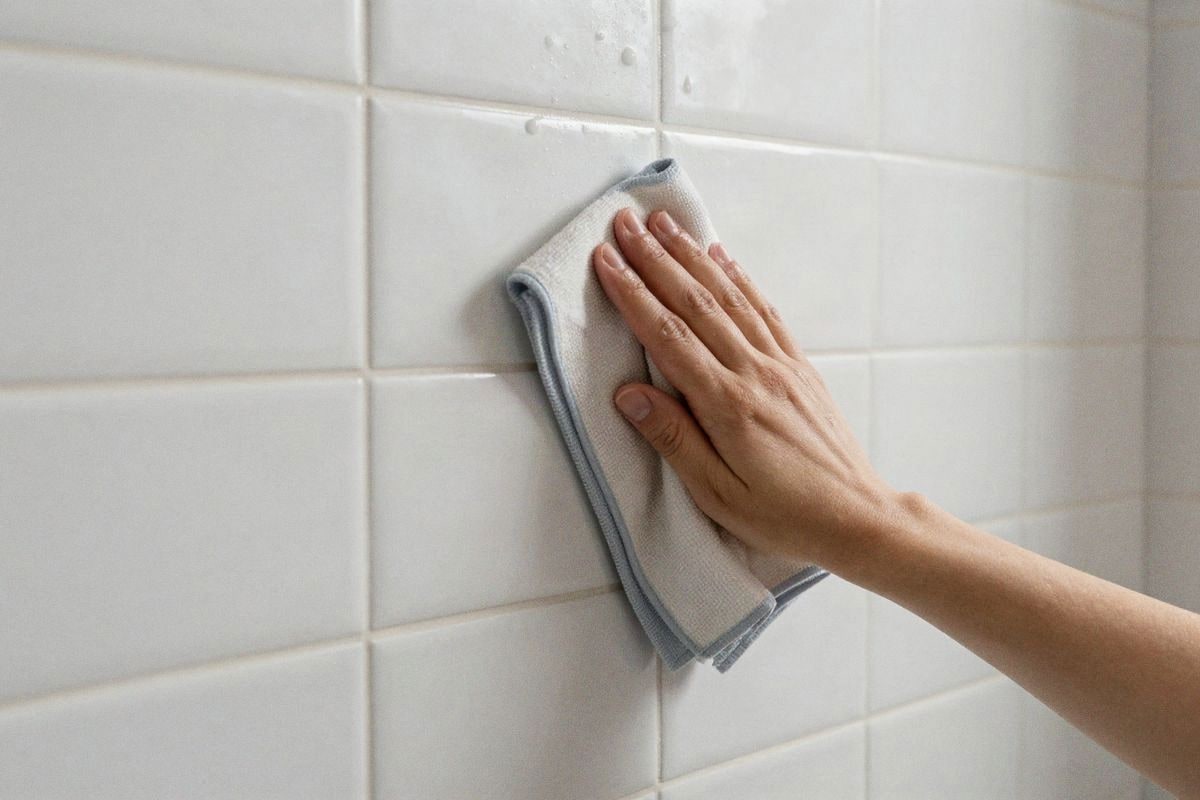
Before even touching the vinyl, spend time on the wall. Clean the surface with a damp cloth and a little neutral soap, as if you were preparing the wall for painting. Let it dry completely: this can take two hours in winter, depending on humidity. Any residue of dust, grease, or moisture is an invisible saboteur that will work against you silently.
If the wall has glossy or satin paint, apply fine sandpaper (220 grit or higher) with gentle movements. You don’t need to make the wall look like construction sandpaper; just remove that superficial shine that prevents the adhesive from gripping well. This is especially important in kitchens and bathrooms, where there is more grease and humidity floating around.
For walls in poor condition, with peeling or very old paint, consider applying a light sealing primer. It’s not strictly necessary everywhere, but in areas with temperature or humidity changes, it’s a five-euro investment that will save you frustrations. Let it dry according to the manufacturer: never improvise with the drying times.
Choose the right type of vinyl for your space
Not all vinyls are the same, and this is where another crucial part begins. Removable adhesive vinyls last between 2 and 5 years, while permanent vinyls can last decades. If you’re renting, opt for removable ones. If it’s your home and the wall is white without changes, permanent ones are more economical in the long run.
There are also special vinyls for humid environments, with greater resistance to water vapour. If you want a vinyl in the bathroom, this is not optional: specifically look for vinyls for humid areas or bathrooms. Standard vinyls absorb moisture and peel off in weeks. The price difference is minimal, but the result is completely different.
Another detail: I know people who buy very thin vinyls because they are cheaper, and then they are surprised that they wrinkle or peel off. A thicker vinyl, at least 0.3 millimetres, withstands the passage of time better and is easier to apply without air bubbles forming.
The correct application is your best ally
When you open the vinyl, work in a temperate room, without drafts and with moderate humidity. Extreme temperatures (less than 10 degrees or more than 35) affect the plasticity of the adhesive. If it’s winter and your house is cold, wait for a warmer hour of the day or turn on heating in the area.
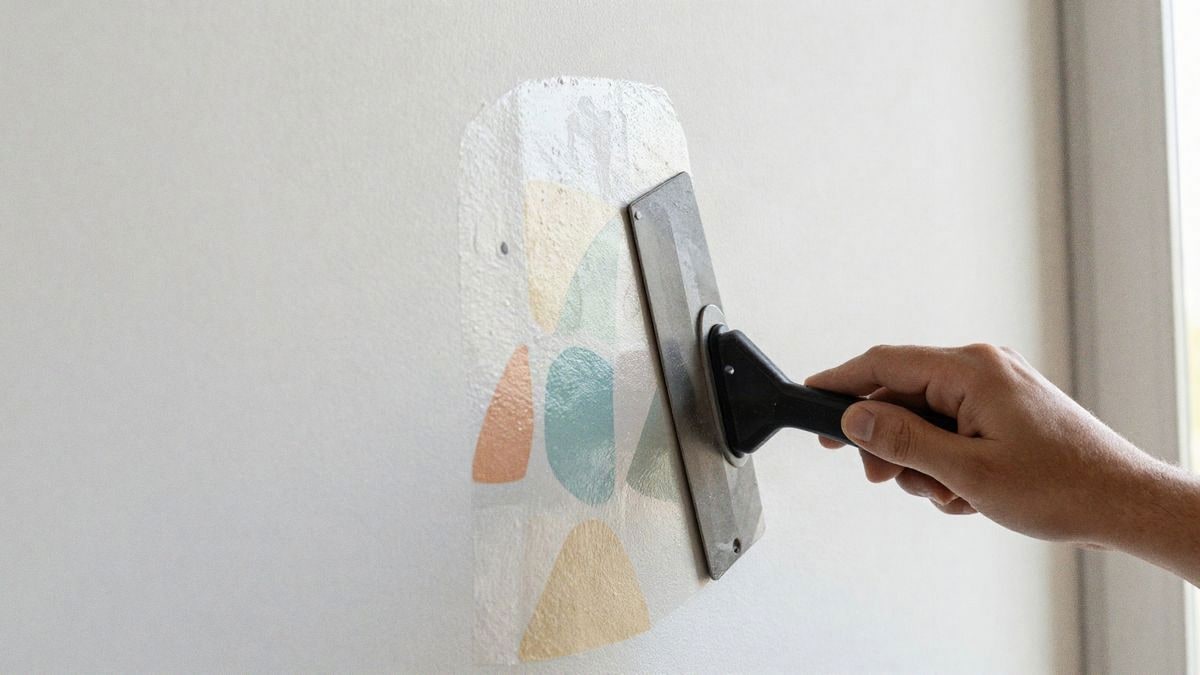
Use a plastic scraper or a credit card to smooth the vinyl, never your nails or hard objects that could scratch it. Press from the centre towards the edges, eliminating air bubbles. This movement is key: a vinyl full of bubbles not only looks bad, but the trapped air is a weak point that will expand over time.
If you make a mistake, peel it off slowly from a corner. Removable vinyls can withstand several peel-offs, but each one weakens the adhesive a little. If you stick it a third or fourth time in the same place, consider replacing it. The adhesive has a limit to its patience, even if it seems otherwise.
Extra tactics for them to last for years
After applying the vinyl, resist the temptation to touch it constantly. Wait at least 24 hours before exposing the area to temperature changes, humidity, or direct sunlight. Yes, 24 hours sounds long, but it’s the time the adhesive needs to establish a firm bond with the wall.
If your vinyl is in an area with direct sunlight for hours, consider installing a blind or light curtain. Ultraviolet rays degrade the adhesive and the colours of the vinyl faster than many believe. A vinyl on a north-facing wall lasts for years; the same vinyl in front of a south-facing window can fade in two years.
In bathrooms and kitchens, ventilate regularly to avoid steam accumulation. The moisture-resistant vinyl holds up well, but a constantly saturated steam environment shortens its life. A simple ventilation of 10 minutes after cooking or showering makes a difference. Also, avoid placing vinyls too close to radiators or direct heat sources.
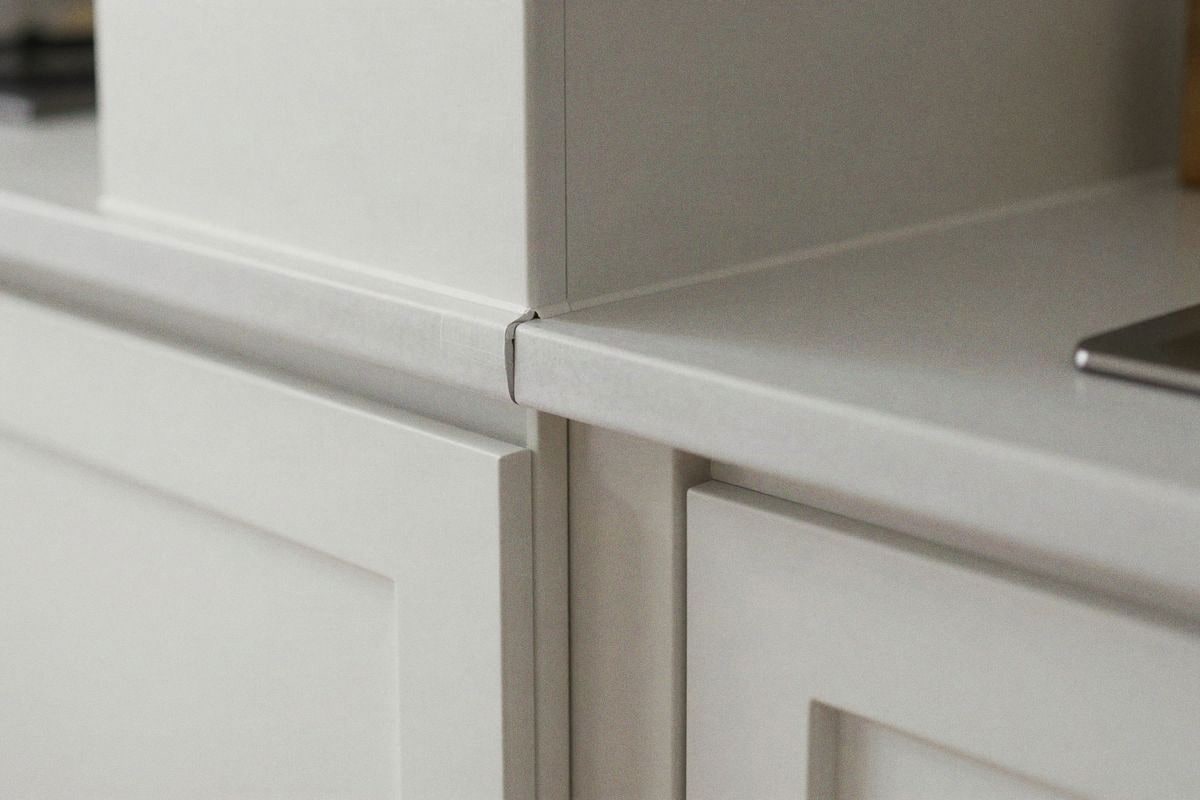
If you notice that the edges begin to lift —something that naturally occurs after years— don’t wait for it to peel off completely. Apply removable adhesive or a special glue for vinyls under the lifted edge, press well, and let it dry. This small intervention can add years to the life of the vinyl.
The reality is that a well-applied vinyl on a well-prepared wall can last between 5 and 10 years without problems. If yours is peeling off, nine times out of ten the fault is not with the vinyl, but with something we can control: the wall, the application, the environment, or the drying time. Now that you know these tricks, your decorative vinyls will stay exactly where you want them, without unpleasant surprises.

You may also like