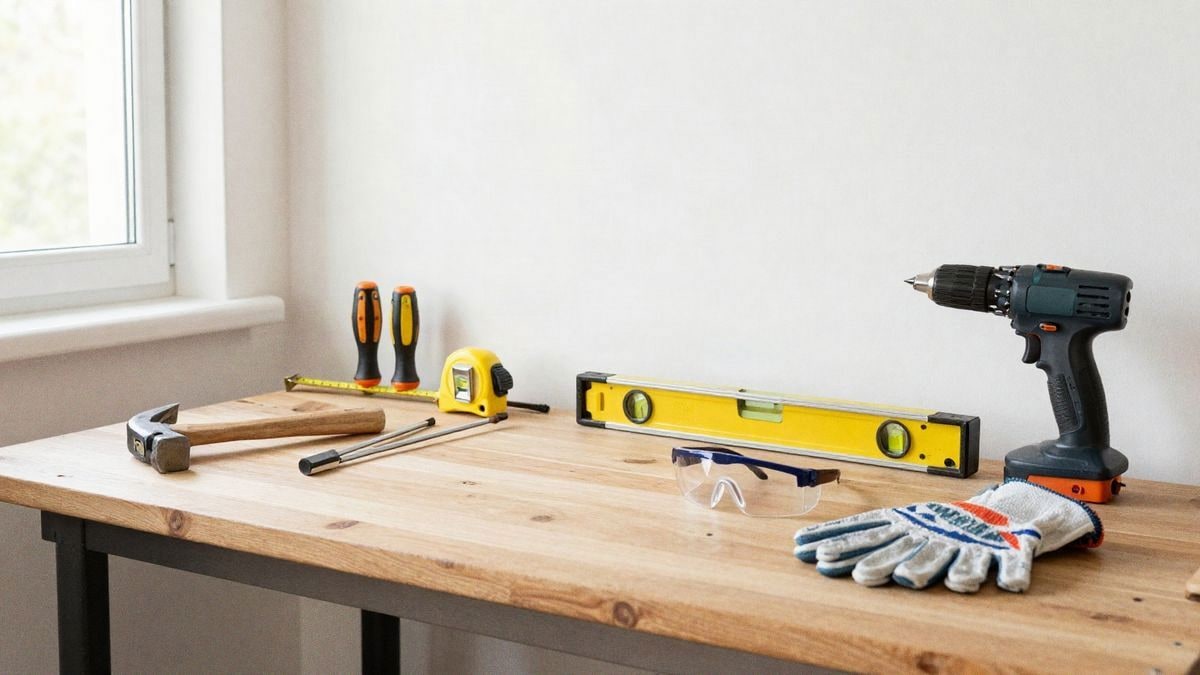
At Casa y Deco, we have seen how cement effect paint has become the preferred solution for those seeking a modern, industrial, and sophisticated finish without breaking the wall. What started as a trend a few years ago is now part of the usual decorative repertoire, and it works in almost any context: from a minimalist living room to an open kitchen or even a characterful bedroom.
The challenge, however, is achieving that uniform and polished look we see in Instagram inspirations. Marks, fingerprints, and blotches are the number one enemy when working with these particular paints, which acquire a slightly grainy texture as they dry. We go from a dream result to something that looks like someone stopped painting halfway through. I confess that in my first attempt in the living room, I didn't take these details into account and ended up repainting half the wall. Today, we share everything we've learned.

Before opening the paint can, the preparatory work is key. Prepare the wall as if it were the most important part of the entire process, because it truly is. Clean the surface with a damp cloth to remove dust, cobwebs, and any residue that may adhere to the final finish. If there are cracks or small holes, fill them with putty and sand gently once dry. An irregular wall will not forgive defects: cement effect paint will amplify them.
Priming is a step that many skip thinking they save time, but it's a mistake. Always use a good quality uniform primer that allows the paint to adhere properly and dry evenly. If your wall is very dark or has stains, choose a tinted primer that closely resembles the final colour. This makes it easier for the cement texture to be more consistent and reduces the likelihood of marks due to absorption differences.
We arrive at the decisive point: the choice of roller. A short pile roller (between 6 and 10 millimetres) is your best ally. Very short rollers do not distribute the paint well, and very long ones leave a texture that is too pronounced and more prone to marks. Look for one with a good quality core that does not shed during application. A mediocre roller is false economy when you are painting an entire room with a texture that exposes every defect.

The density of the roller also matters. Medium density rollers work best with cement effect paints. Neither fluffy (which create bubbles) nor excessively dense (which generate resistance when rolling and leave pressure marks). If in doubt, test in a less visible area before committing to the entire wall. A small test will save you headaches.
Now let's talk about the application technique, which is where everything is decided. Saturate the roller without overdoing it: it should be damp but not dripping. This is the delicate balance that prevents both streaks from lack of paint and puddles that create overlapping marks. Wipe the roller well by gently pressing it against the sides of the paint tray. If it leaves droplets, it is too loaded.
When you roll the paint on the wall, do so in long, continuous movements without stopping. The most problematic marks arise from abrupt changes in direction and from going over the same area twice. Work in horizontal or vertical strips (choose one and maintain consistency) and progress gradually. If you see an area needs additional touches, wait for it to dry a bit before going over it again: fresh paint is more susceptible to marks.
The pressure you apply is crucial. Let the roller do the work; do not force it against the wall as if you want to penetrate it. Medium and even pressure distributes the paint much more evenly. The roller should be in contact with the surface but without unnecessary effort that causes fatigue in your arms and also more visual defects. Imagine you are caressing the wall, not attacking it.
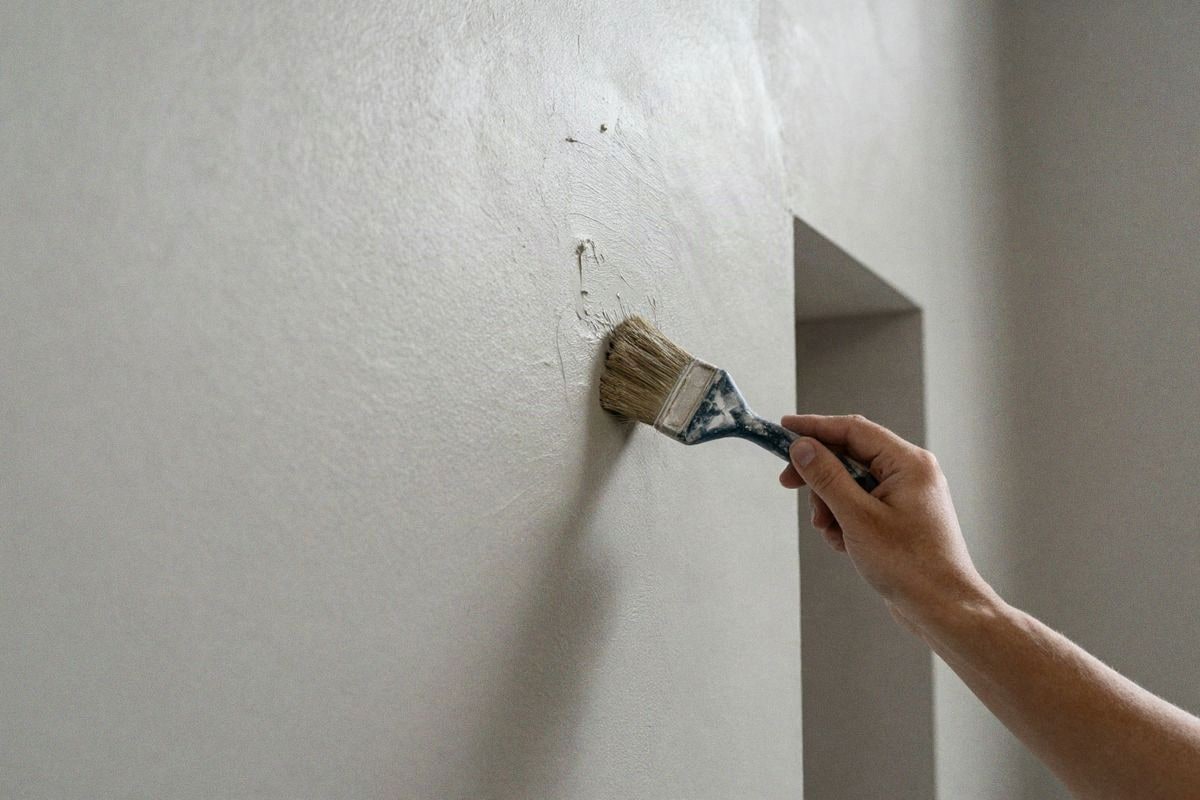
The corners, nooks, and edges next to the ceiling or moldings require a different strategy. Use a good quality synthetic bristle brush for these areas, do not try to do everything with a roller. A 2-inch brush is perfect for edging. Apply the paint with regular movements and without excessive pressure. The transitions between brush and roller are less noticeable if you work with thin layers than if you try to cover everything at once.
The time between coats is fundamental and often underestimated. Before applying a second coat, wait the time indicated by the manufacturer, never less. If you apply too quickly, the first coat is still curing, and your roller may lift paint or create uneven areas. Cement effect paint is especially sensitive to this. If the can says 4 hours, respect those 4 hours even if you are in a hurry to finish.
Humidity and ambient temperature affect more than you think. Paint in temperate conditions (between 18 and 25 degrees) and with moderate relative humidity. Extreme heat causes drying too quickly, leaving marks; cold slows the process and can affect the final texture. If you paint in summer or in a very humid area, ensure ventilation but avoid direct drafts that dry one area more than another.
After completing the work, patience remains your ally. Let the paint cure completely before touching or cleaning anything. Some cement effect finishes need a whole week to reach their maximum hardness. During that time, avoid rubbing, water, and unnecessary handling. It seems obvious, but often the perfect job suffers because we rush to use the room.
If despite all these precautions, light stains or marks appear, there are options. A very gentle sanding with ultra-fine sandpaper (400-600) can smooth out very local imperfections, but do it very carefully and only if the finish allows it. In some cases, it is better to simply learn to see it as part of the wall's character. Total perfection in cement does not exist: what is interesting is that it looks intentional, not accidental.

The cement effect has a versatility that we sincerely admire. It works with warm or bluish greys, with darker tones or even with subtle touches of colour. What matters is the application. A well-painted wall with this technique can completely transform the perception of a room, making it more sophisticated, larger, and more coherent. The care and attention are worth it.

You may also like