If there's one thing we've learned at Casa y Deco, it's that the difference between a disastrous renovation and one that makes us proud of our home lies in knowing the basics. You don't need to be a professional expert, but you should know those fundamental tricks and techniques that will save you money, time, and more than one headache. I confess that before my first major renovation, I made the silliest mistakes: I bought tools I didn't need and had no idea how to use them.
The good news is that basic DIY is absolutely affordable for anyone eager to learn. We'll start with the essentials: the tools you really need to have at home. We're not talking about turning you into a professional, but rather enabling you to hang a picture without it falling on your head after three months, install a shelf, or repair that flaw that's been bothering you for years.
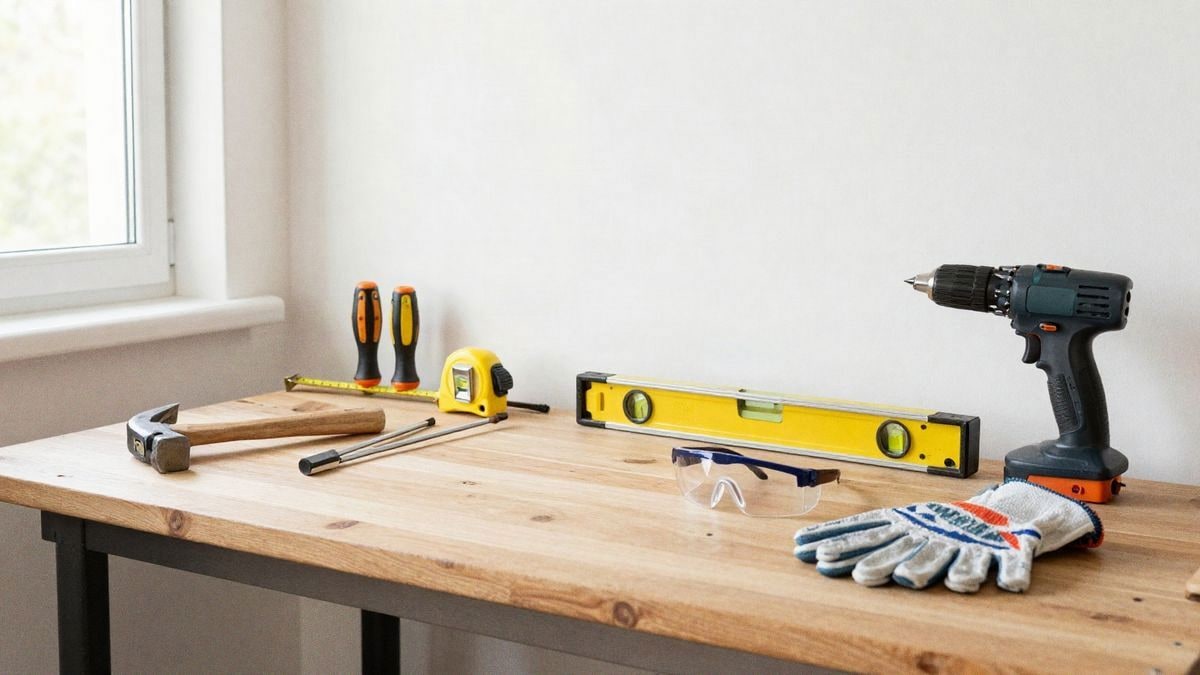
The key is to invest in quality basic tools that will last for years and serve you for dozens of projects. A good brand screwdriver costs only a little more than a cheap one that rusts in three weeks. You need a balanced hammer, a drill-driver, a spirit level, a tape measure of at least 5 metres, a carpenter's pencil, needle-nose pliers, and a saw or circular saw if you plan to work with wood. Work gloves, safety glasses, and a dust mask are also essential: this is not a luxury, it's real protection.
Before touching anything, you must learn to measure correctly. It sounds basic, but this is where most people fail. Measure twice, buy once, as the professionals say. When placing a piece of furniture or hanging something on the wall, measure from two different reference points. This saved my living room when I was about to mount shelves that would have ended up completely crooked. Use a tape measure with a hook, mark with a pencil (never with a pen), and always use a spirit level to check that everything is horizontal or vertical. Measurements are not forgotten; installation errors are very visible.
Another critical point is understanding what's inside your walls before making holes. In almost all of Spain, behind the plaster, there are bricks or concrete blocks, but there can also be water pipes, drains, or electrical cables. Invest in a basic metal detector (there are very affordable ones) to locate the cables before you start drilling. If you hit a water pipe, it will cost you financially and emotionally. If you cut an electrical cable, besides the scare, you'll have to call an electrician.
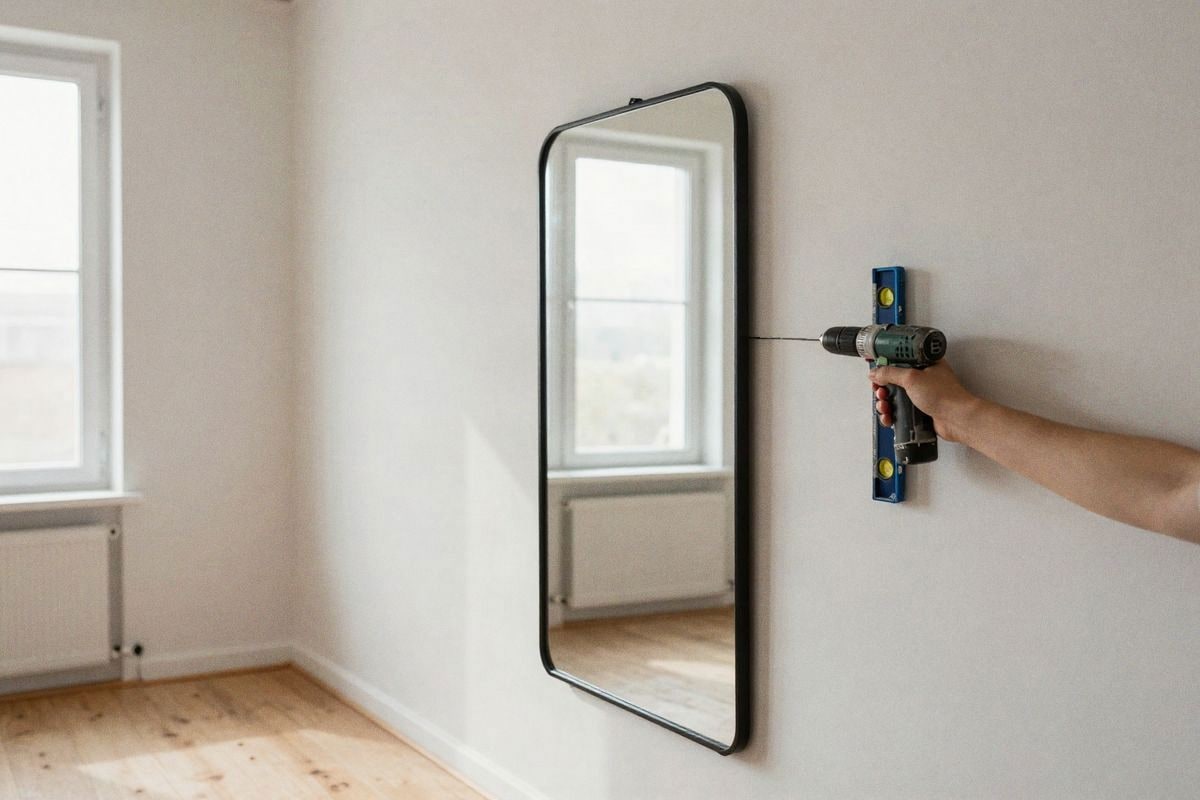
Learn to Hang Things Properly
Hanging a picture seems trivial until you see it hanging crooked three weeks later. The secret is to use the right type of anchor for each surface. On drywall, traditional nylon plugs work well for small to medium weights (up to 5 kg). If you need to hang something heavier—a shelf loaded with books, a large mirror—you need specific expansion plugs that grip better in the concrete behind the drywall. For solid concrete walls, wedge anchors are the most reliable.
Mark the exact point where you want to make the hole with a pencil and with the help of a level. Don't improvise the height: measure from the floor, especially if you're going to install a set of pictures or shelves. Always drill with the bit perpendicular to the wall, without weird angles that can break the bit or make an oval hole. If you have no experience, start with a small bit and gradually increase the size. Many broken bits come from trying to make a large hole all at once. When you insert the plug, gently tap with the hammer until it's flush with the wall, without sticking out.
For pictures and mirrors, the hanger must support double the weight of what you're hanging—that is, an 8 kg mirror should be on a hanger rated for at least 16 kg. This may seem excessive, but it isn't: the weight is not evenly distributed and materials weaken over time. Always check the maximum weight of the anchor before installing it. I don't take unnecessary risks with objects that could fall on a bed or sofa.
Wall Repairs and Basic Painting
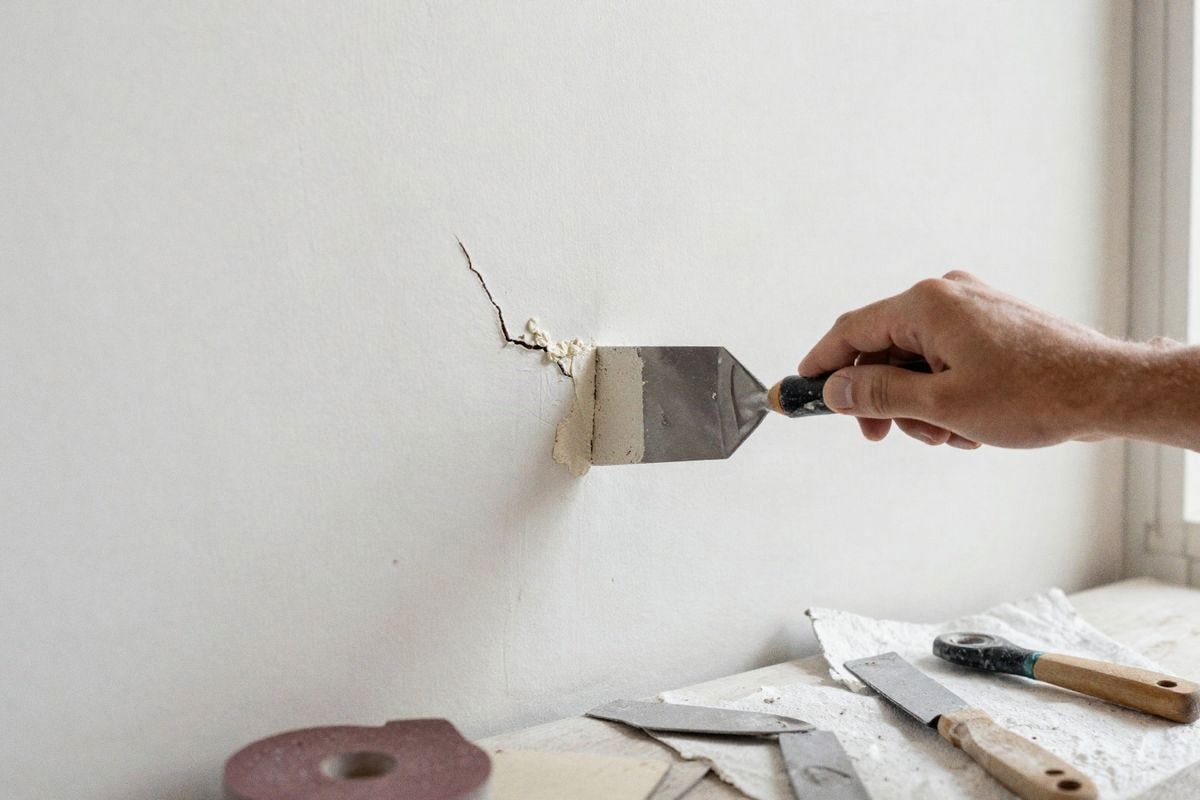
Cracks and small holes in the wall are inevitable. For small holes (from 5 mm to 2 cm), use filler or wall putty—the kind that comes in a tube is perfect because it applies directly without preparation. Clean the area well, remove loose dust, apply the putty with a small spatula pressing firmly, let it dry according to the instructions, and sand lightly with fine sandpaper (grit 120 or 150) before painting. It's not complicated; the important thing is not to leave air bubbles inside.
For larger cracks or holes where plaster is missing, you'll need a specific two-component plaster repair. These require a bit more patience, but the result is professional. Apply in thin layers, let dry between layers, and sand at the end. The key is patience: it's better to wait the time indicated on the package than to chip the wall later because it turned out weak.
When it comes to painting, always start with primer if the wall is new, if you're changing colour radically, or if you've repaired large cracks. Primer ensures that the paint adheres well and that previous stains or tones don't bleed through. Paint with a brush or roller as you prefer (the roller is faster for large areas), always in even strokes. Two thin coats are better than one thick one: the result is more uniform and will last longer.
Assembling Furniture Without Losing Your Mind
Always read the instructions before unpacking anything—I know it sounds boring, but it prevents those moments of frustration when you discover you're missing a piece halfway through assembly. Prepare a clear space, lay out all the pieces in view, and separate screws, bolts, and plugs in small containers. This is not theatre; it's strategy: this way, you don't lose anything and don't have to search for nuts under the sofa at three in the afternoon.
When drilling or screwing into wood, always make a small pilot hole before inserting the screw. This prevents the wood from splitting and the screw from twisting. The hole should be slightly smaller than the diameter of the screw. If you're working with softwood, this step is almost mandatory. With hardwood, absolutely. Use screws of the correct size: too short won't hold anything, too long will break through the other side or pierce the piece.
Finally, after assembling everything, check that it's level and adjust if necessary. A crooked piece of furniture not only looks terrible, but its structure also suffers and tends to come apart over time. If the floor is not perfectly flat, use wedges or leveling foam under the legs. This is especially important for shelves: a crooked shelf causes books to slowly slide towards the lower side, which is not only inconvenient but also dangerous.
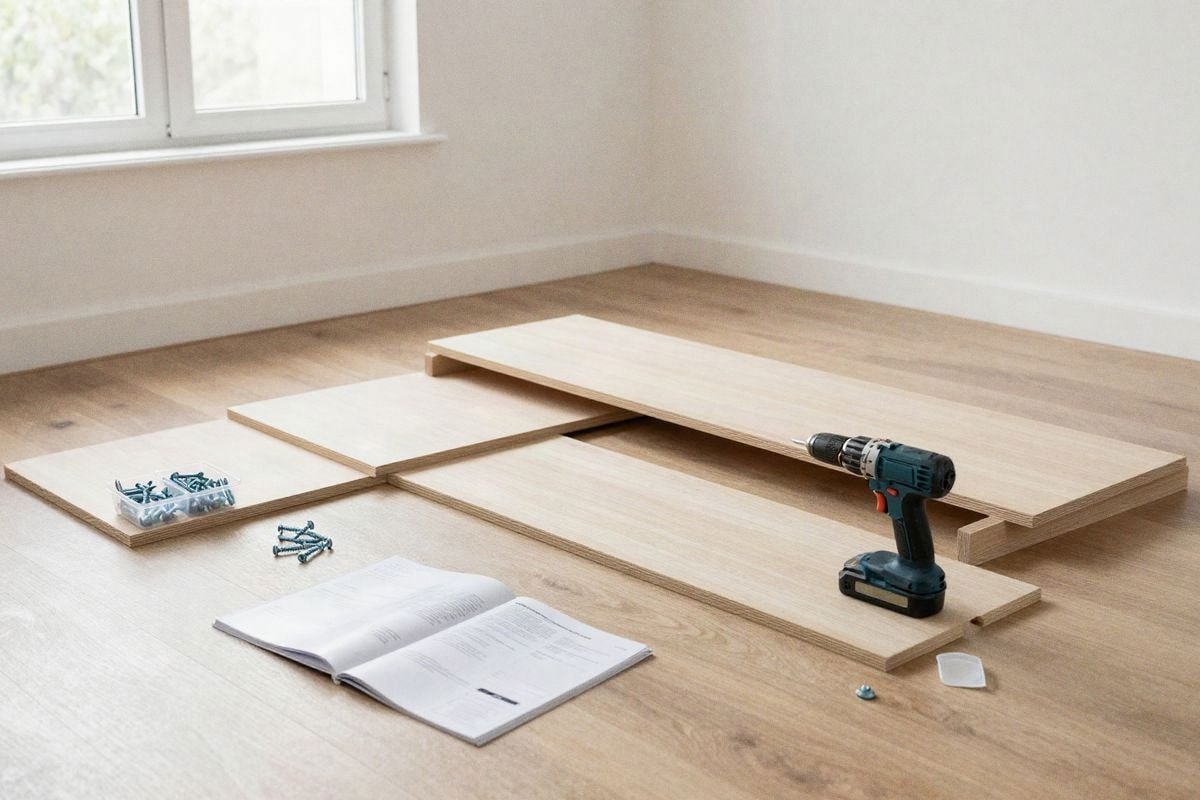
Basic DIY is not a mystery: it's simply common sense, correct measurements, and using the right tool for each job. We all make mistakes, but those mistakes are part of the learning process. The next renovation will be easier, faster, and turn out better. And best of all, that piece of furniture you assembled, that picture you hung after measuring three times, that repair you made in five minutes without unnecessary expenses... that has a special value that no fancy decoration can match.

You may also like