At Casa y Deco, we know that few things ruin the mood more than opening the bathroom door and finding those black stains on the silicone. How to remove mould from the bathroom is one of the most common questions we receive, and rightly so: besides being unsightly, mould can affect health, so it’s best to act quickly. I confess that I took too long to take it seriously and ended up replacing a shower screen that could have been saved in time.
Why Mould Appears in the Bathroom
The bathroom has everything mould needs: hot water, steam, poor ventilation, and porous surfaces where dirt clings. When the temperature remains warm and humidity doesn’t dissipate, fungi find the perfect place to grow in the joints of tiles, in silicone, in drains, or on the ceiling, especially in corners where no one looks. The typical signs are black or greenish stains and that musty smell that hits you as soon as you enter.
We often say in the office that mould is an opportunistic tenant. If your bathroom has no window or the extractor fan makes more noise than it does effect, humidity lingers for hours after a shower. Therefore, before grabbing the brush, it’s worth checking for any leaks behind the bathtub or if the shower screen is leaking water onto the floor, because cleaning without fixing the cause is just throwing money away.
Which Products Really Work
Here we must be honest: baking soda and white vinegar help clean surface dirt and degrease, but against established fungi, they often fall short. For visible stains, diluted bleach remains the most effective option. A common dilution for sturdy surfaces like tiles or porcelain bathtubs is 1 part bleach to 4 parts water. Some people use specific anti-mould cleaners with fungicidal action, and they also work, as long as you follow the instructions on the label.
Hydrogen peroxide is another reasonable alternative, especially on light-coloured joints, although with dark surfaces it’s advisable to test it first in a less visible area as it can lighten the shade. And never mix it with bleach, as the result is dangerous.
Also, never mix bleach with vinegar or ammonia. Combining them releases toxic gases, and what starts as a cleaning session can end with a coughing fit. I’ve seen it happen, and it’s not pleasant at all. Wear gloves, open the window, and keep the bathroom door ventilated while you work.
Step-by-Step to Remove It
The first step is to prepare the area. Ventilate well, wear gloves, and if the stain is large, a mask. Then apply the diluted bleach directly onto the mould with a spray bottle, making sure to cover the corners and edges, which is where the fungus tends to hide.
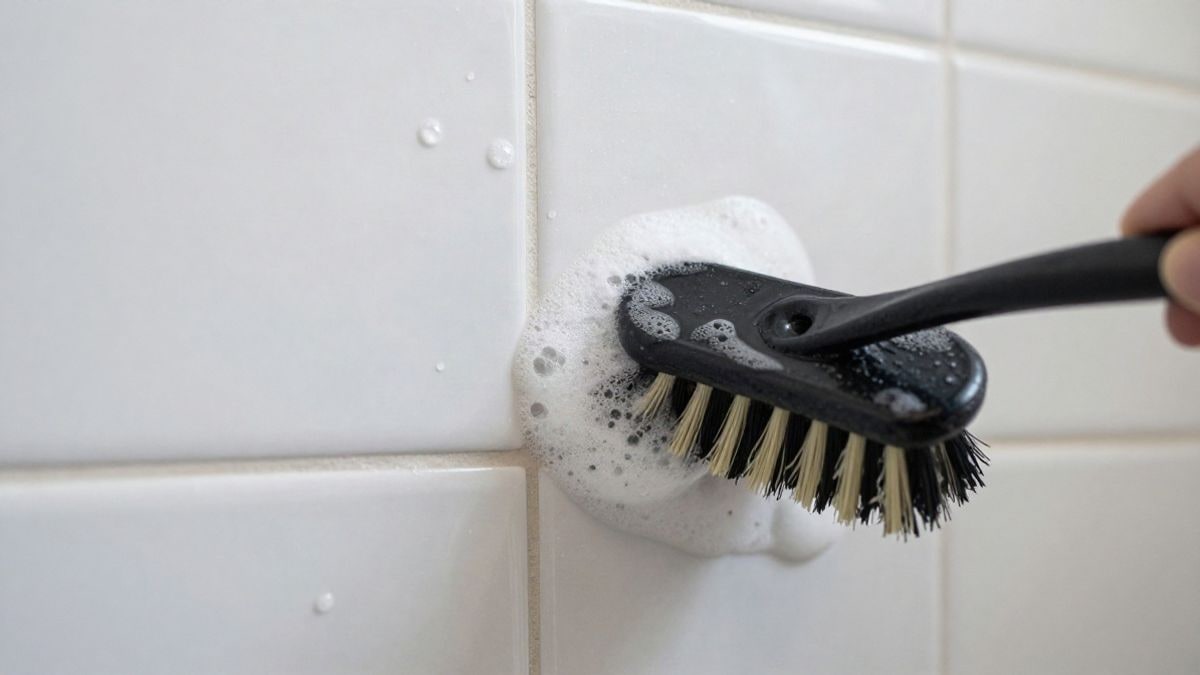
Let it sit for about 15 minutes, or as indicated by the manufacturer if it’s a specific product. Don’t rinse it off too soon, as that time is what does the work. After the time has passed, scrub with an old toothbrush or a non-abrasive sponge, especially in the joints, which are the most difficult areas. You’ll see how the stains start to lighten.
Finally, rinse with plenty of water if the product requires it and dry the surface with a clean cloth. If all goes well, the colour of the joint should have returned almost to its original state. If there are still shadows, repeat the process a second time instead of scrubbing harder, as an aggressive brush can scratch the enamel.
When the Silicone is Beyond Saving
There comes a time when cleaning is not enough. If the silicone is black on the inside, has come loose, or feels soft to the touch, the mould has reached the base and will return even if you scrub it repeatedly. In that case, the most sensible solution is to remove the old silicone with a blade or a specific tool, clean the joint thoroughly, let it dry completely, and apply new silicone with fungicide. I found it hard to accept, as removing silicone is a laborious task, but the result is worth it.
Also, be cautious with fabric curtains and non-slip mats, which accumulate moisture without anyone noticing. Many can be washed at 60 degrees with a bit of baking soda, but check the label first. If the shower screen is glass, the lower edge and the rubber seals are usually the most neglected points, and a check every three months can prevent unpleasant surprises.
How to Prevent It from Returning
Prevention is cheaper than any product. Always ventilate when you can: leave the extractor on for about 20 minutes after a shower, and if you don’t have an extractor, open the window. A dehumidifier is very helpful in bathrooms without natural ventilation, especially in winter when windows are kept closed for longer periods.
Dry the tiles, shower screen, and floor with a squeegee or cloth after each use. It may seem trivial, but it’s what most effectively hinders fungi. And avoid leaving damp towels or clothes piling up in the bathroom, as each wet item adds moisture to the air.
Do a weekly cleaning with a disinfectant product and pay attention to blind spots: the back of the toilet, the drain grates, and the space under the sink. If you notice stains on the wall that won’t go away, be suspicious, as there may be a leak that needs to be checked as soon as possible.
In the end, taking care of the bathroom is more about consistency than magic. Wipe down for five minutes a day, and you’ll save yourself hours of scrubbing. And if something is giving you trouble, you know that the Casa y Deco team is always here to help.

You may also like