At Casa y Deco, we love finding solutions that transform a space without the need to tear down walls or undertake renovations that leave our home in disarray. And if there’s one thing that truly works to change the face of a kitchen without a renovation budget, it’s learning how to paint kitchen tiles. The best part is that you don’t need to be a professional: with patience, the right materials, and a bit of technique, you can renew those tiles that have been looking tired for years as if they were new.
I confess that the first time I considered this option, I thought it was going to be a total failure. We’ve all seen those paint jobs that start to peel within two months or end up with a dull, unappealing look. But the truth is that if you follow the steps correctly and don’t try to skip any, the result is surprisingly durable. The key lies in the preparation and in choosing the specific products for this task.
Materials You Need to Paint Tiles
First things first, let’s go over the essentials. Not just any paint you have at home will do. Kitchen tiles are exposed to humidity, temperature changes, and constant splashes, so you need products designed for that. The best option is to use epoxy paint or two-component acrylic paint specially formulated for tiles and ceramic surfaces. This paint is more resistant than conventional paint and adheres better to ceramics.
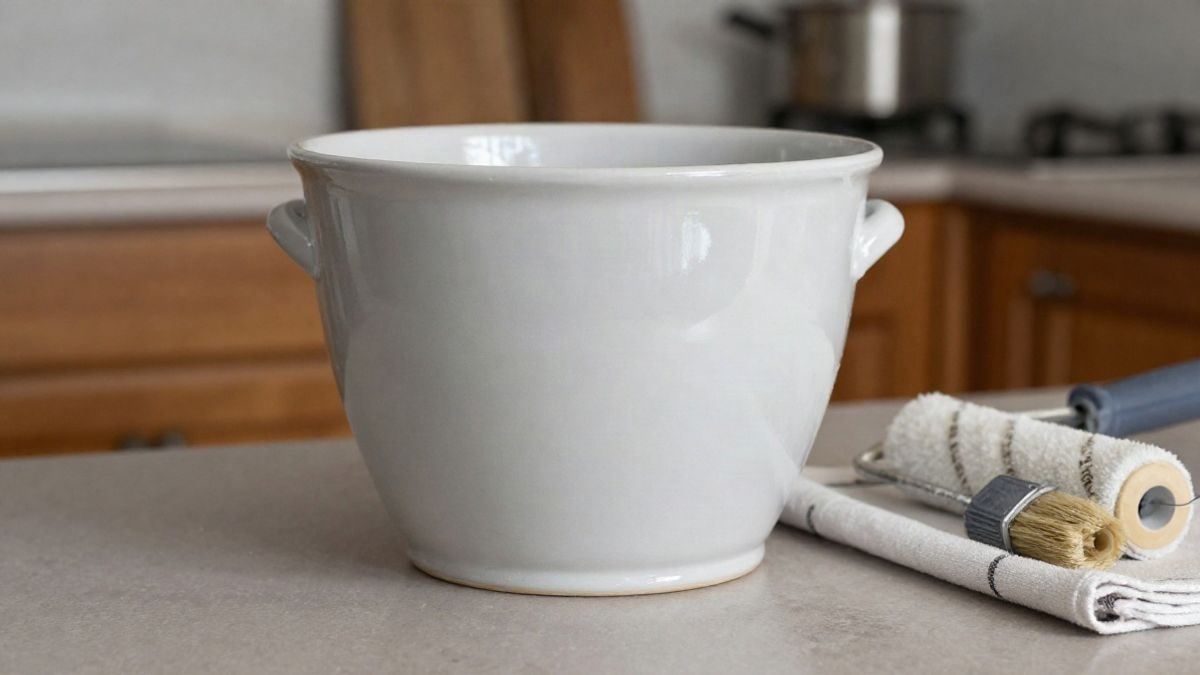
You will also need a specific primer for tiles. Don’t skip this step, even if it seems like the paint adheres well without it. The primer ensures that the paint bonds correctly and prevents future peeling. Then there are the basic elements: a quality roller or brush (preferably synthetic nylon), a paint tray, fine-grit sandpaper (between 120 and 180), a degreasing cleaner, a sponge or cloth, and masking tape to protect areas you don’t want to paint.
We are not convinced by cheap brushes for this job. Invest a little more in decent tools: the bristles come off less, and you’ll achieve a much more uniform finish. Additionally, you’ll need small containers to mix products and nitrile gloves that hold up well.
Preparing the Tiles: The Most Important Step
This is where many people rush and then regret their decisions. Preparation accounts for 70% of the final success. First, thoroughly clean the entire surface with a specific degreaser. Kitchen tiles accumulate grease, dust, and residues that hinder paint adhesion. Scrub with a damp sponge, especially in the joints, and let it dry completely.
Once clean and dry, it’s time to sand. Take fine-grit sandpaper (120 or 150) and sand the surface of the tiles with smooth, even movements. It’s not about scraping the tiles until they are dull, but rather creating a light texture that helps the paint adhere. After sanding, clean again with a damp cloth to remove the dust, and let it dry.
If there are damaged joints or cracks, fill the most visible ones with a flexible sealant. Wait the recommended time on the can and sand again if necessary. This detail makes the difference between a job that looks freshly done and one that looks homemade.
Applying the Primer and Paint
Protect the window frames, countertops, and any area you don’t want to paint with masking tape. Apply the primer in a thin, even coat following the manufacturer’s instructions, which vary by brand. Typically, it needs between 1 and 4 hours to dry before painting. While you wait, don’t leave the kitchen unattended: ventilation is important throughout the process.
When the primer is completely dry, it’s time for the part where you see the changes. Open the paint can well and mix for a couple of minutes. If it’s two-component paint, follow the proportions indicated to the letter. Pour it into the tray and start applying with a roller or brush, always in the same direction, with thin and even coats. A thick coat doesn’t dry well and ends up looking pasty.
Most tile paints require at least two coats, with a drying time between them that can range from 4 to 8 hours depending on the product. Read the can carefully to avoid impatience and applying the second coat too soon. Between coats, clean the roller a bit with a damp cloth, but don’t leave it completely wet.
Drying and Final Curing
This is where many people get lost. Although the paint may feel dry to the touch after a few hours, it is not fully cured. Complete curing can take between 7 and 14 days, depending on the paint you’ve chosen. During this time, avoid wetting the tiles, scrubbing areas, or exposing the kitchen to sudden temperature changes.
After that curing period, the tiles will be ready to withstand moisture and normal use. If you’ve worked correctly, the paint will last between 5 and 10 years without issues, especially in areas that don’t receive constant abrasion. If there’s an area of tiles that you often brush against with your arm or that receives a lot of contact, that area may peel before the rest, but that’s to be expected.
Practical Tips for a Durable Result
Ventilate well throughout the process, especially if you are sensitive to paint smells. Open windows, turn on extractors, and, if possible, let the air circulate. Don’t apply paint if it’s very cold or very humid, as it affects drying.
If you make a small mistake during application and while the paint is still wet, correct it immediately with a clean cloth. Once dry, it’s much more complicated to fix. Some experienced painters recommend applying a clear protective finish over the painted tiles to prolong durability, especially in areas with a lot of splashing.
The colour you choose also matters. Dark tones can show dust and fingerprints more, while light and neutral tones are more practical in the kitchen. White, soft grey, or pastel shades keep the kitchen feeling fresh and clean, and they also hide imperfections better if they exist.
Painting kitchen tiles is one of those DIY projects that brings incredible satisfaction when you see the final result. It’s not complicated, but it does require attention to detail and patience. If you’ve been postponing a kitchen renovation because you thought it was too expensive, this technique opens the door to radical changes for a fraction of the cost. The next time you step into your kitchen and see those renewed tiles, you’ll know it was money and time very well spent.

You may also like